
ORC Reveal: How To Install Pasted Wallpaper
Pasted wallpaper may seem scary but with some research, prep and patience you can do it too!
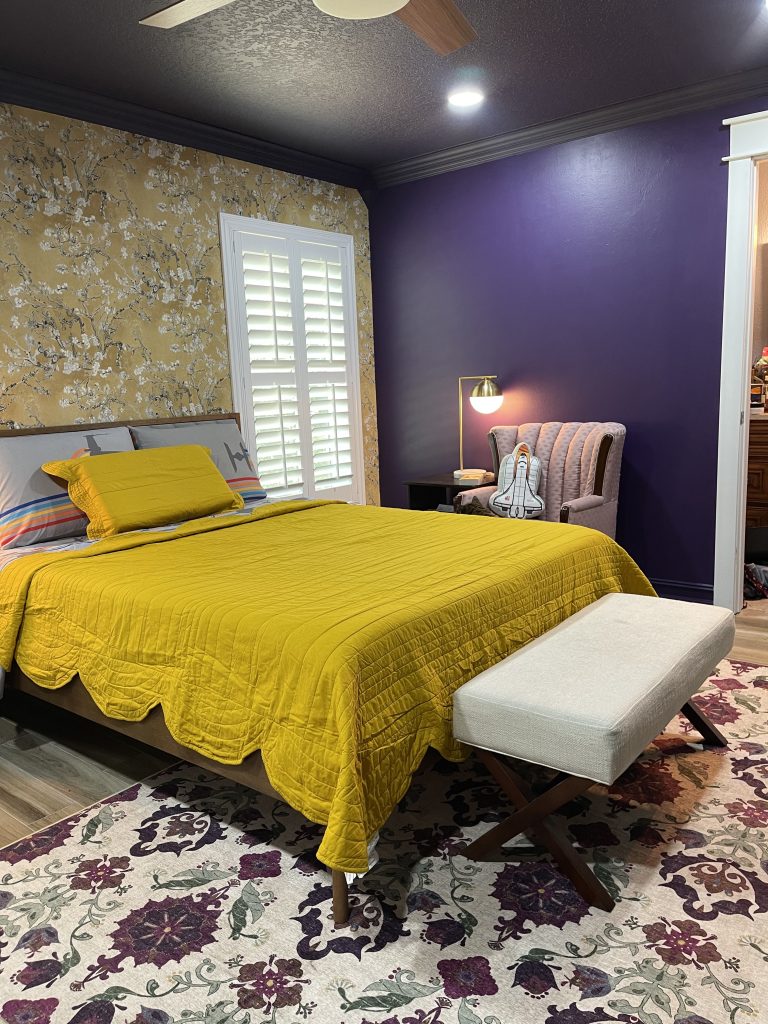
It’s reveal week of the One Room Challenge and we are showing you the room wallpaper and all! Now the room isn’t 100% complete. Week 1 we revealed the Mood Board for this 8-week project, it was a lofty goal but some things happened along the way to slow things down. The theme of the main bedroom was Purple and moody, it really is a very moody purple and the mustard yellow wallpaper just brings it all together. It’s perfect!

Tools You Need:
- Wallpaper adhesive made for the weight of your wallpaper.
- The Van Gogh Ochre/mustarf almond blossom wallpaper I’m using requires a heavy weight wallaper adhesive
- Smoothing tool
- Brush or roller
- Sharp utility knife
- Straight edged ruler
- Extra blades
- Sponge or Damp rag
- Ladder depending on ceiling height or Platform
- Measuring tape
- Level
Product list
- Mirror: Walnut round mirror
- Bedding: Jungalow Scalloped quilt
- Wallpaper: Van Gogh Almond Blossom Mustard
- Ceiling Fan : Hunter Dempsey Fan
- Dresser legs: Ikea Osarp
- Rug: Ruggable Floral Damask
Cutting Room Floor
While a lot was accomplished a couple things had to be cut due to time and ordering issues.
- Build or buy smaller nightstands
- Installing multifold door hardware: Needs to be re-ordered the boors I’ll build will exceed the weight and height limit of the hardware
- Custom closet doors: 90in doors are not a standard size
- Tile the floor where wall was removed
As you can see, its’ not a long list so over the summer i’ll tackle them. I’m a one person team, I work full time so this takes time.

How To Cut Your Wallpaper
I tried to simplify the process by cutting as many pieces as I could beforehand.
- Measure your space: The height of my walls were 85 inches, I added 2 ins and cut all my pieces at 87 in.
- Create a cutting template: I cut my wallpaper on the floor. Using painters tape I marked 87 in so that I cut the right length every time!
- Match your pattern pieces before cutting
- Label your pieces: On the back of your wallpaper indicate where the “top” is so you know the direction it will go from the ceiling and number them so they don’t get mixed up
- Use a sharp blade to cut: Be sure you have a fresh blade and don’t cut your paper with a dull bald, this will lead to tears and tears.
- Use a ruler or other straight edge to ensure you are cutting straight pieces of wallpaper


Installing Wallpaper
Paste to the wall wallpaper is very simple to do! This application style is forgiving and gives you time to adjust your paper before it cures.
Since the wallpaper I have is a heavyweight premium paper I needed to get an adhesive for heavyweight or commercial wallpaper. Therefore, I got a gallon of the Roman ECO-888 adhesive, it’s supposed to be zero VOCs.
How To Install Your Wallpaper
- Paste the wall using a roller or brush.
- Make sure you have coverage especially on the edges near the ceiling and baseboard.
- Apply your wallpaper and align the pattern with the previous pieces.
- Using a clean roller or smoothing tool go over your wallpaper removing any bubbles, excess adhesive and cleaning up your edges. Ensure the wallpaper is smoothed down completely on the wall.
- Cut off excess when you have all pieces up on your wall


Oh No I Messed Up! What Do I Do!
First, stay calm. You can adjust the piece a bit by pushing on the wallpaper and move it around slowly to align it with the pattern on the other piece. However, in the case that none of it matches up at all, pull off your wallpaper piece slowly and wipe down the wall to remove the adhesive while you figure out what went wrong.
In my case this happened to the second piece I tried to put up! I kept trying to align it with the previous piece and none of it was right. The piece was removed thinking i’d have to cut a whole new one. Instead, I moved on to the next piece on the other side. A whole new piece was cut and put it up and realized that the piece that wouldn’t go up was mis-numbered! Finally, it fit in another spot flawlessly!
Bonus: Install wallpaper in Drawer Sides
Have some extra wallpaper? Don’t let it go to waste! You can use it to line a chest of drawers in many different ways! Some people opt to line the inside of the drawers, this is best with a peel and stick wallpaper as it would be more durable.
Where to use in wallpaper
- Line inside of drawer
- Line side of drawer
- Wallpaper the drawer fronts
- Wallpaper chest sides
Installing the wallpaper in your Chest of drawers
Once you’ve chosen you location you follow the same steps as you would on a wall.
- Mark a level line at the center of the location
- Inside drawer: Mark in a spot where you can still see the line as you move the wallpaper
- Make sure the surface is clean and clear of dust or debris
- If using pasted wallpaper: Roll on your paste
- Align wallpaper with your center line and press your wallpaper on the surface
- Move your wallpaper as needed to adjust
- Smooth out bubbles
- If using Peel and Stick: Peel a corner off revealing the a small top portion of the wallpaper
- Align wallpaper with your center line and press your wallpaper edge on the surface
- Carefully life your wallpaper as needed to adjust
- As you move down, slowly remove more of the paper backing
- Use your hand or a tool to smooth and push down as you remove the backing
- Smooth out bubbles
The Reveal
Product list
- Mirror: Walnut round mirror
- Bedding: Jungalow Scalloped quilt
- Wallpaper: Van Gogh Almond Blossom Mustard
- Ceiling Fan : Hunter Dempsey Fan
- Dresser legs: Ikea Osarp
- Rug: Ruggable Floral Damask
All The pretty Pictures!
If you’re a fan of the pretty reveal pictures…enjoy this gallery!


Whats next: 2022 Projects
Up next is to build a workbench, it’s been put off for too long. Ben @bens_diy share the plans for his workbench plans to me since last year. Mixed in with that I’ll build the closet doors, figure out the nightstands, and wait for the right closet door hardware to come in as it has a 4 week processing time.
If you missed any blog posts you can catch up here!
Latest On the Blog
-
Kitchen Glow-Up for Every Budget: From Broke to Big money!
Are you a broke-y, balling on a budget or Big Money? Your Kitchen budget will help you decide where and when to tackle a Kitchen Renovation.
-
How to change you car cabin and engine air filter
In a Honda Fit, I’ll show you how to change your air filter and some tips I’ve learned along the way. It’s a good practice to check them at least once a year.
-
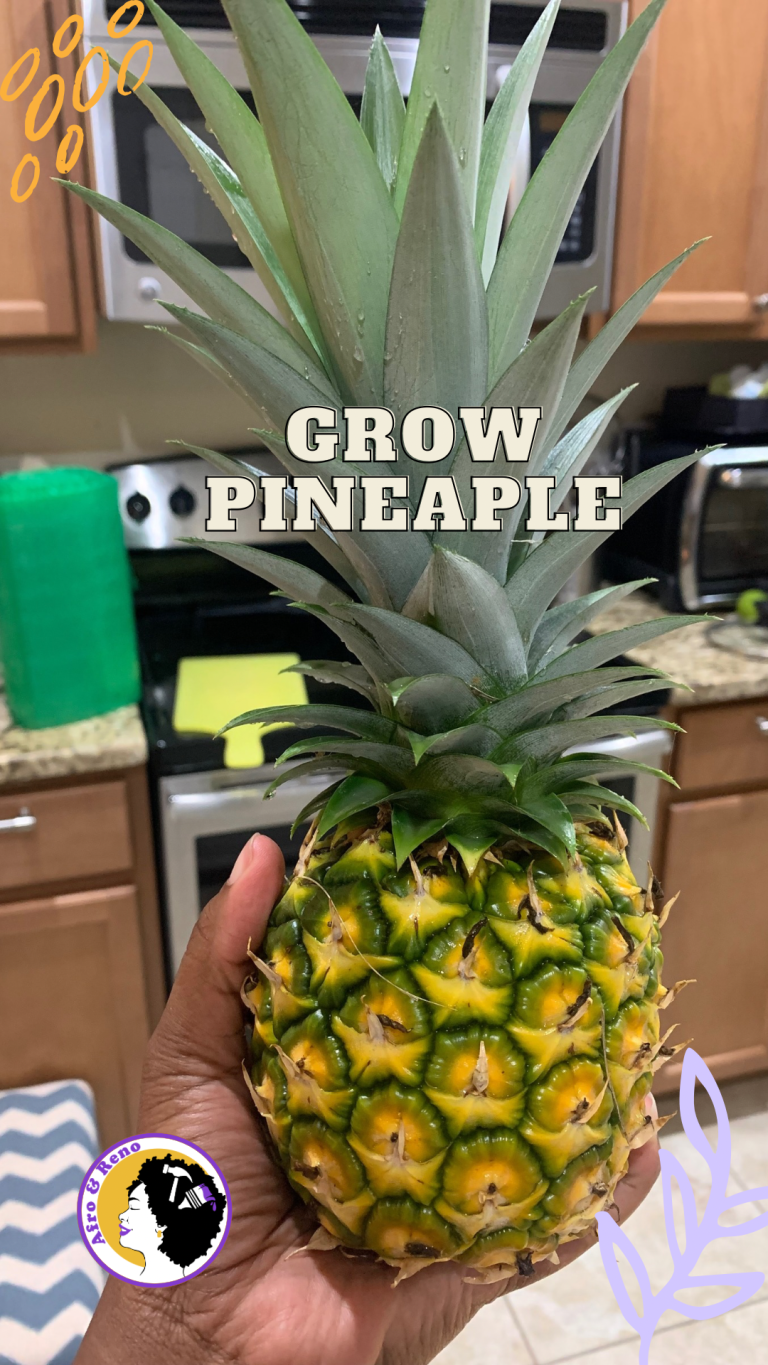
DIY · Garden · Tips and Tricks
Grow pineapple the easy way
The easiest way to grow pineapples is from a pineapple top. You know, the part you take off before cutting into the delicious fruit!

Oldies but goodies On the Blog
-
Boxes are for objects, not people
I am not a stereotype and I don’t fit into the boxes people think a Black woman fits in.
-
One Room Challenge (ORC): Fall edition
Customizing the kitchen one drawer and cabinet at a time as part of the ORC
It’s that time again for another One Room Challenge (ORC). I participated for the first time in the Spring starting phase one of the kitchen renovation. I will do a post later on this month how the spring challenge went. Hint: I finished it this week!
-
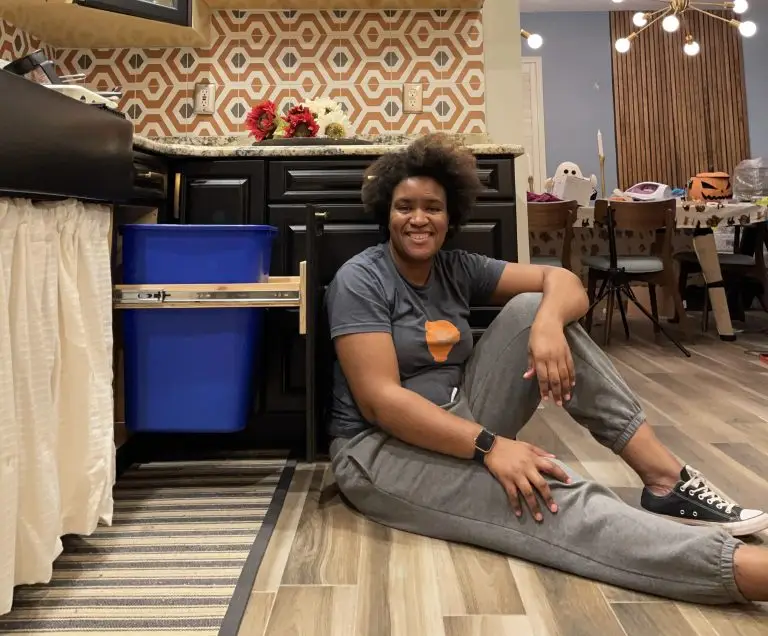
DIY | Home Improvement | Kitchen | ORC | Woodworking
Building a custom drawer: Recycling Bin
Customize your kitchen on a budget. This week we tackle building a custom drawer for a recycling bin. Works with a trashcan or easily modified for both!


This came together so well! I absolutely love the wall color and wallpaper together. The peep of matching paper on the dresser is cute. I can’t wait to see the closet doors and side tables when you get them finished.
Thank you! I really appreciate it! I’m hoping to quickly build a workbench and hope it will make building the closet doors easier.
It all came together beautifully.. the mustard touches, hints of brass, tge wallpaper and purple. Well done 👍🏾
This is so refreshing! I love the colors and how it came together and how the elements layer. Stunning!
That means so much coming from you Chantelle!💜💜 I love your bold interiors and how you mix patterns, textures and colors!
Thank you!
My favorite color used to be purple and this room is reminding me why I love the color. I know you were going to do your thing but this is amazing.