How to Rebuild a Closet Opening
After demoing a wall, removing the header, and opening up the closet. It’s now time to get the pieces back together.
Welcome to Week 7 of the One Room Challenge! We have one week left to go and it is crunch time! I made several mistakes that have delayed some of what I was planning to accomplish…but we are pushing forward and moving on! In week 4: How to remove the wall between closet doors we demoed the wall between the two doors in the closet, we removed the trim, header, door jamb and even went into the attic!!

Tools for the job
- Platform
- Trim puller
- Hammer
- Drill
- Construction nails
- Framing Nailer
- 2x4x8 or 2x4x16 studs (depends on your opening size, especially for the header)
- Drywall
- Drywall Mud
- Drywall tape
- Oscillating tool and Metal carbide blade
Several mistakes were made that change the plans this week (week 7). Originally, I was going to tackle doing pasted wallpaper for the first time. I bought the wallpaper adhesive, had all my rolls of paper…and then I read all the instructions. Unfortunately, bought the wrong adhesive and they don’t sell in stores! The Van Gogh Almond Blossom wallpaper, is a thick (thicc!) premium paper and needs an adhesive made for heavy duty/ vinyl paper. It’s been ordered but won’t get here until Thursday…while the week 8 reveals are being made!
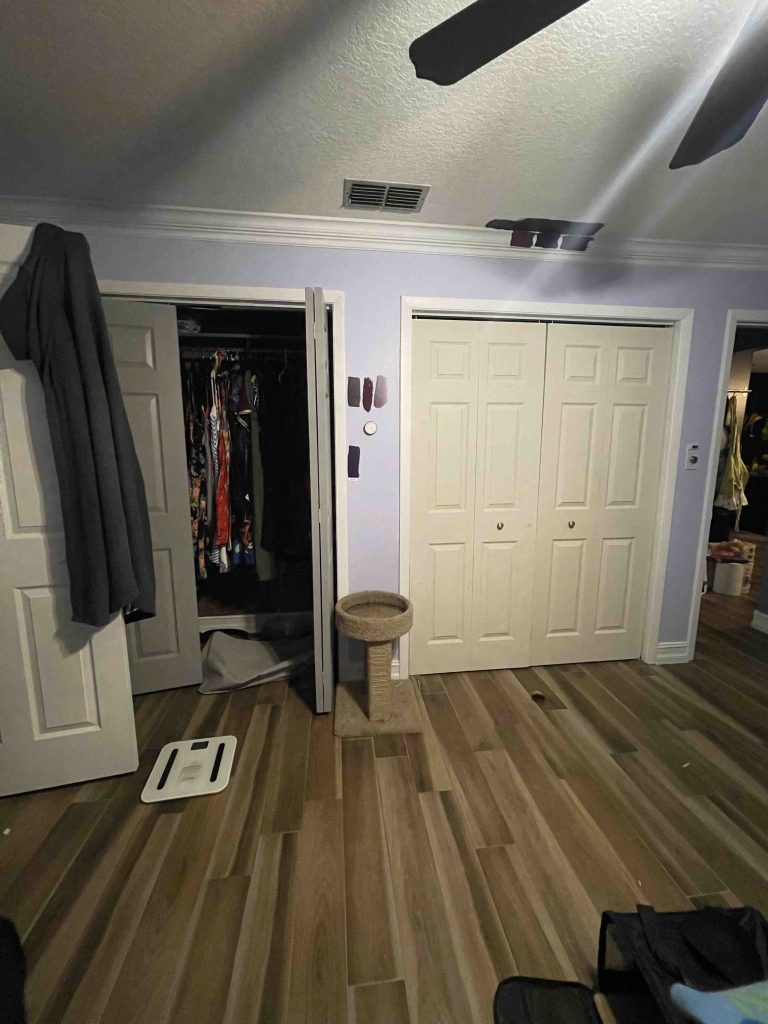
Current Closet View
1: Removing Construction nails
How hard is it to remove nails imbedded into concrete? Super hard as I found out…and the nails were huge!!! To remove, I used my multi-tool I bought from Harbor Freight for only $25 and a metal carbide blade . This was important because other metal blades or the ones that say they’re for wood/metal were not enough! I will take a bit of time for the too to remove the nail, be patient as the tool worth through the thick nails. DO NOT TOUCH THE NAIL afterward. All the friction of removal will make its so its hot to the touch. You will burn your fingers, I know this from experience sadly.
Nevertheless, I knew I was sick and tired of having my clothes on the couch in my office…it was time to get the closet in a state where I could fill the closet.


- Install Metal blade on oscillating tool
- Make sure it is tight and secure
- Turn on and slowly cut through the nail
- Start at a lower speed and increase oscillating tool speed if necessary
- Nail will be HOT, leave nail alone until it cools
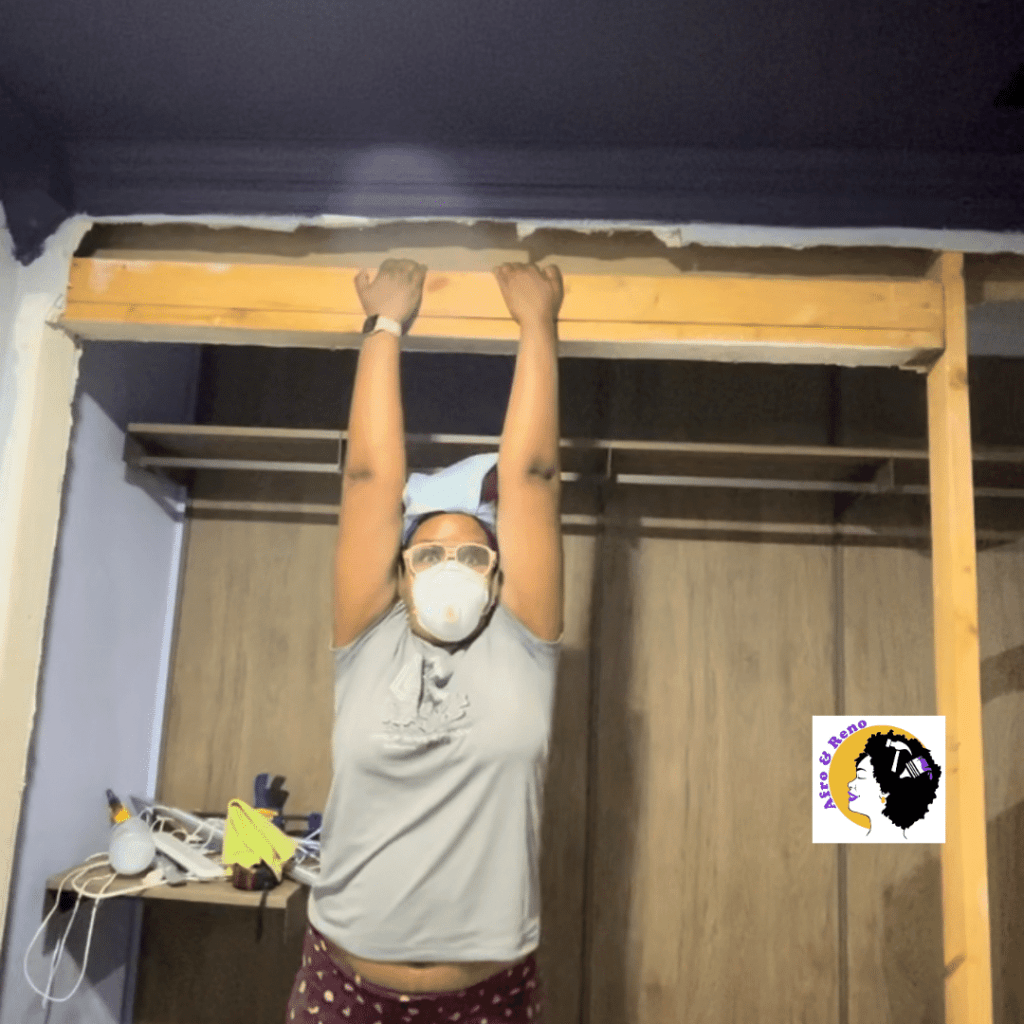
2: Making a Custom Door Opening
 Framing with jack stud removed
 King studs go to the ceiling, jack studs hold up header
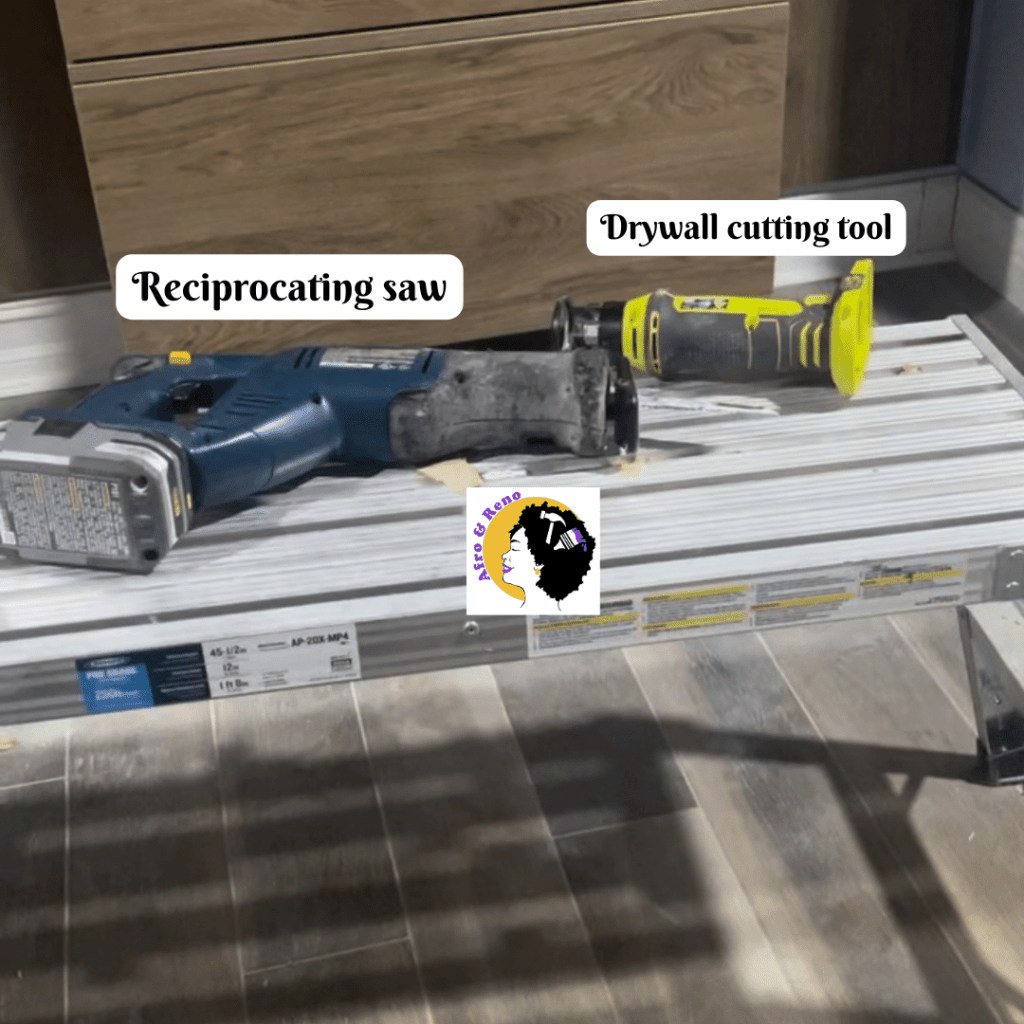 Tools
Tools
This will be part of a longer post on How to Build a Custom Door Opening. Here is a shorter version of what you need to know if you are not in the mood to read a detailed post.
Step 1: Figure Out Door Opening Size
This may seem straightforward but it requires you to know the end from the beginning. This is an advance carpentry task, so it’s important to know how door frames are created, why they are the way that they are and the tools you’ll need for the job. At minimum you’ll need several 2x4s, a level and a framing nailer.
Before cutting anything, determine the rough opening size for your door (s):
- Standard rough opening = Door width + 2 inches, Door height + 2 inches
- Example: A 30-inch by 80-inch door needs a 32-inch by 82-inch rough opening
- The extra space accounts for the door frame and shims to level the door.
Step 2: Cut & Install the King Studs
Step 3: Add the Header
Step 4: Install the Jack Studs
Step 5: Add the Cripple Studs (If Needed)
Step 6: Check for Level & Secure
Step 7: Prepare for Installation
For my closet I want tall doors and not have to have any framing in between. My current height is 93in and width is 138in. I want to custom make the doors, so the doors I need will be 91in and to fill the closet width either 4 doors @34.5 or 5 doors at 27.6, unless I can find off the shelf doors to fit. the size. (Spoiler: I found Ikea doors that would Fit and Re-framed my doors, Read all about it soon)
3: Adding trim
Next, we added trim to the inside of the closet. This is pretty straightforward. I did very simple trim with butt joints, no fancy miters, nothing fancy at all just cheap MDF 1x4s I got at a liquidation seller. Honestly, no one is going to go in the closet and say…oh wow you really went cheap in the trim in here…no one really looks at the details in the closet. The trim inside and outside serve as a way to hold the door jamb in place.
4: Adding shelves to the Container Store Avera closet
This will be a separate “how to” on the blog but this is one of the easiest upgrades you can make. I called the Container Store, had them update my Closet master file and ordered the extra hardware. There was a bit of confusion at first about shipping and who would be installing it. At first there was an automatic minimum shipping change…that only makes sense if you’re shipping freight items, but in the end they were able to remove it; they even offered free help installing it! Honestly, it’s a simple upgrade that any once can do. Best of all, it does not void your warranty as along as they approve of it!
The Reveal
Finally, here is the closet now! I still have to move all my clothes back in, organize them and add trim on the outside. However, its progress! Stay tuned for the final reveal in Week 8; I may even do a fashion show to see what still fits, I have a lot of clothes and it’s time for a cull.

Missed a previous post? Checkout all the ORC 2022 blog posts!
Latest On the Blog
-
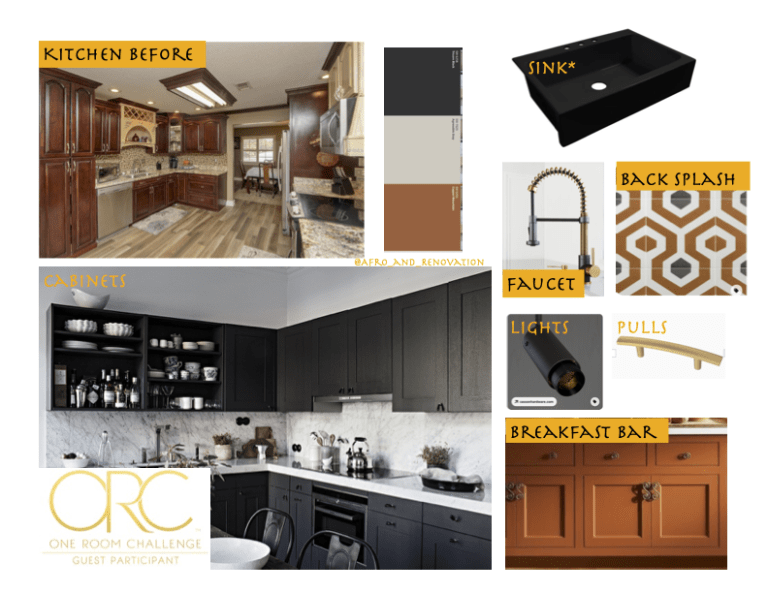
Kitchen Glow-Up for Every Budget: From Broke to Big money!
Are you a broke-y, balling on a budget or Big Money? Your Kitchen budget will help you decide where and when to tackle a Kitchen Renovation.
-
How to change you car cabin and engine air filter
In a Honda Fit, I’ll show you how to change your air filter and some tips I’ve learned along the way. It’s a good practice to check them at least once a year.
-
DIY · Garden · Tips and Tricks
Grow pineapple the easy way
The easiest way to grow pineapples is from a pineapple top. You know, the part you take off before cutting into the delicious fruit!


Oldies but goodies On the Blog
-
Boxes are for objects, not people
I am not a stereotype and I don’t fit into the boxes people think a Black woman fits in.
-
One Room Challenge (ORC): Fall edition
Customizing the kitchen one drawer and cabinet at a time as part of the ORC
It’s that time again for another One Room Challenge (ORC). I participated for the first time in the Spring starting phase one of the kitchen renovation. I will do a post later on this month how the spring challenge went. Hint: I finished it this week!
-
DIY | Home Improvement | Kitchen | ORC | Woodworking
Building a custom drawer: Recycling Bin
Customize your kitchen on a budget. This week we tackle building a custom drawer for a recycling bin. Works with a trashcan or easily modified for both!