How to prep screened in aluminum/concrete patio for paint
Prep is the most important and makes sure you’ll get the best finish
Here we are on week 2 of the One Room Challenge and the majority of the time has been spent on prep work. This Spring ORC project is my patio transformation. I hope to do a lot of it on a budget, this space is meant to be shared by both me and the cats so it also has to be a functional space for them.

Items used for Cleaning and prepping patio
Shop My patio refresh tools on Amazon (Earns Commission)
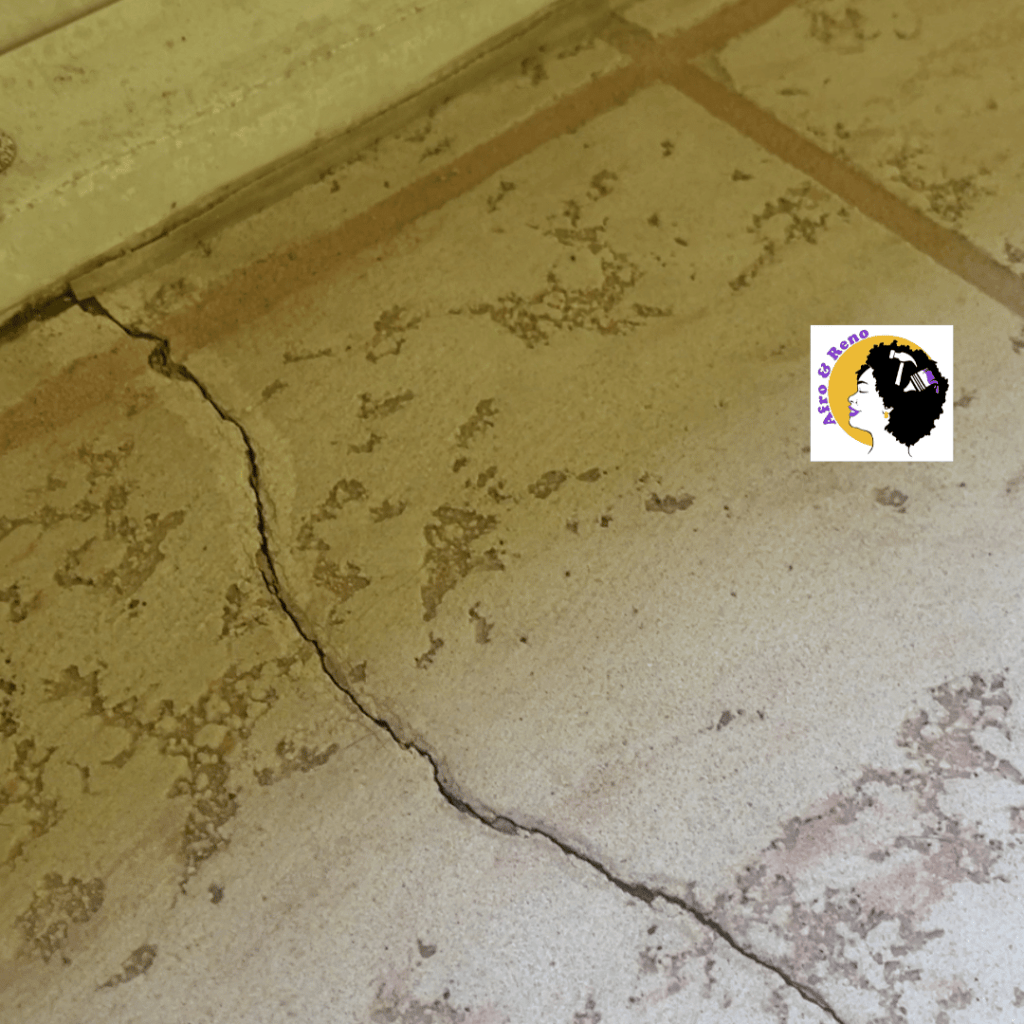
The goal is to do a lot of painting…and yes I do want the checkerboard floor! The patio walls are green and have some cracks. The floor is an already coated floor, a pink faux marble-y look that has seen better days. The cool thing is the grid is already there so I can use them as guides. BUT i’m getting way ahead of myself. First I have to clean, prep, prep and prep some more.
Honestly it’s the most time consuming and boring part of this process but totally necessary.
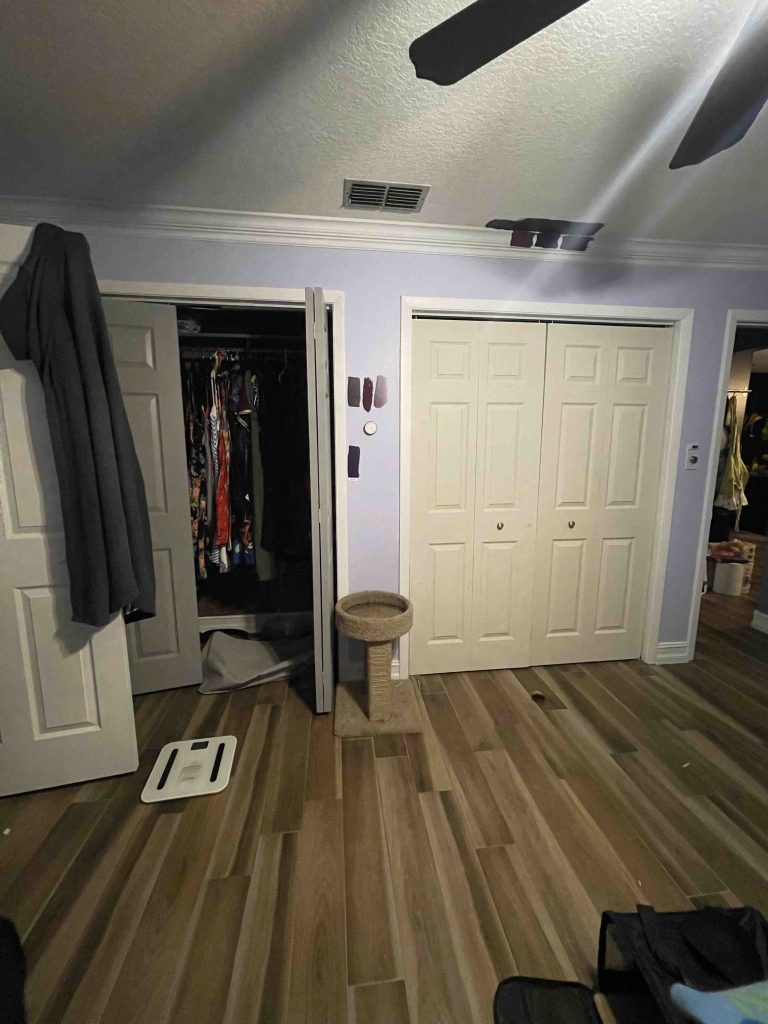
Step 1: Clear the patio
This helps have a blank slate to work with. Clearing the patio makes is easier to visualize what you want to do, see any issues that need to be addressed and helps you make a game plan.
I did this last week but I had lots of stuff in the patio and lots of cat hair. I moved everything into my garage, my garage is now full. When was the last time the patio was functional? Sometime i the summer. Just before I went on a weeklong trip for labor day weekend there was a hurricane that was heading straight for my area. As a result I pilled everything in a corner and tied them down, they have been there ever since
Once the patio was clear I could see all the cracks and gaps that needed to be filled, nail holes etc.
Step 2: Clean everything
I started by sweeping the space and using my Ryobi blower to clean the floors the walls and even clean things out of the ceiling.
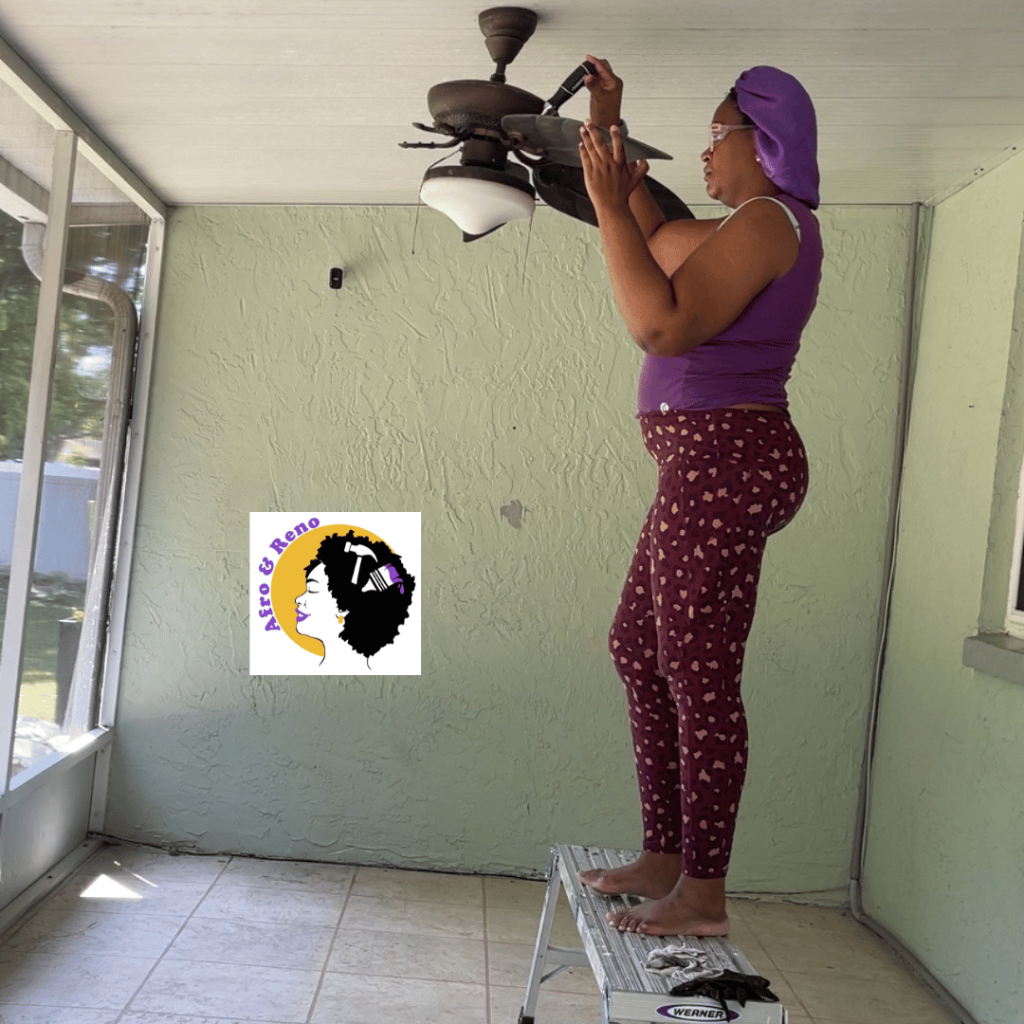
I removed the fan blades from the ceiling fan to help make cleaning easier. I scraped gunk and other bits from the floors, walls, I removed concrete plugs from the walls and filled them in.


Step 3: Prep for pressure washing
Another prep step!? Unfortunately yes. I my case I have electrical to worry about, ceiling fan, two improperly installed outdoor lights and a 220v breaker for the old hot tub. Pressure washing involves a lot of water. For an enclosed space with lots of connections I wanted to make sure not to mix water and electricity.
I covered what I could with plastic and tape. I also turned off the power to the patio. Once that was done I pressure washed the ceiling, walls and floor with my Greenworks pressure washer. It’s a great tool in my arsenal for small tasks.

The ceiling and the screen are aluminum, I used the 40 degree tip when cleaning the ceiling. The walls are stucco and I used the same time to clean and get in the crevices to clean old dirt and pollen. Finally for the floor I used a turbo nozzle to clean the floor. The floor has dips and divots in it and the nozzle was great for getting in there. Even after all the though the floor is still dingy. I realized the clear top coat is holding on dirt.
Step 4: Fill Gaps
Once everything is clean and dry. Now its time to fill the gaps. All that cleaning should make is easier for your concrete patch, and caulk to adhere to your surfaces better.
I am filling the cracks along the concrete floor using a flexible concrete patch. This makes is so if there is a little movement the cracks wont open up again. Along the same vein I’m using an elastomeric exterior rated caulk to fill the gap between the concrete floor and the wall. Once again, flexible so if there is some slight movement it wont open up again. If any of these open up…It could be bigger issue as to why its moving.
Thats part one of prep! For the concrete floor since it was perviously top coated should be scuffed up a bit to allow better adhesion. I am still debating whether I want to paint the aluminum I’ll need to sand, used a self etching primer made for aluminum and a paint made for metal. IDK if I want to do all that.
Next week we prime! So close to adding color! If you missed last weeks One room Challenge post to prep for a patio refresh see it here.
Spring ORC 2024 Patio Refresh Posts: Week 1 | Week 2 | Week 3 | Week 4 | Week 5 | Week 6 | Week 7 | Week 8: Reveal
Latest On the Blog
-
Kitchen Glow-Up for Every Budget: From Broke to Big money!
Are you a broke-y, balling on a budget or Big Money? Your Kitchen budget will help you decide where and when to tackle a Kitchen Renovation.
-
How to change you car cabin and engine air filter
In a Honda Fit, I’ll show you how to change your air filter and some tips I’ve learned along the way. It’s a good practice to check them at least once a year.
-
DIY · Garden · Tips and Tricks
Grow pineapple the easy way
The easiest way to grow pineapples is from a pineapple top. You know, the part you take off before cutting into the delicious fruit!


Oldies but goodies On the Blog
-
Boxes are for objects, not people
I am not a stereotype and I don’t fit into the boxes people think a Black woman fits in.
-
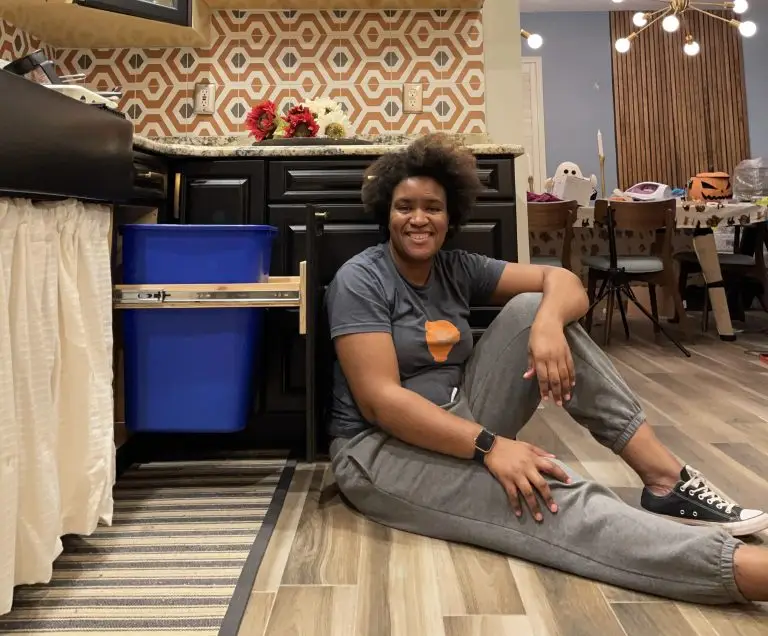
One Room Challenge (ORC): Fall edition
Customizing the kitchen one drawer and cabinet at a time as part of the ORC
It’s that time again for another One Room Challenge (ORC). I participated for the first time in the Spring starting phase one of the kitchen renovation. I will do a post later on this month how the spring challenge went. Hint: I finished it this week!
-
DIY | Home Improvement | Kitchen | ORC | Woodworking
Building a custom drawer: Recycling Bin
Customize your kitchen on a budget. This week we tackle building a custom drawer for a recycling bin. Works with a trashcan or easily modified for both!