How To Remove a Wall Between Closet Doors
This is an advanced level job. Make sure you consult an Engineer to know if the wall is load bearing
Welcome to Week 4 of the One Room Challenge Sponsored by Apartment Therapy. While Last week we focused on adding electrical. The tail end of that week and this whole week is all about the wall in the closet!
Let’s demo that small wall between two sets of closet doors and figure out why thats there.

Tools for the Job
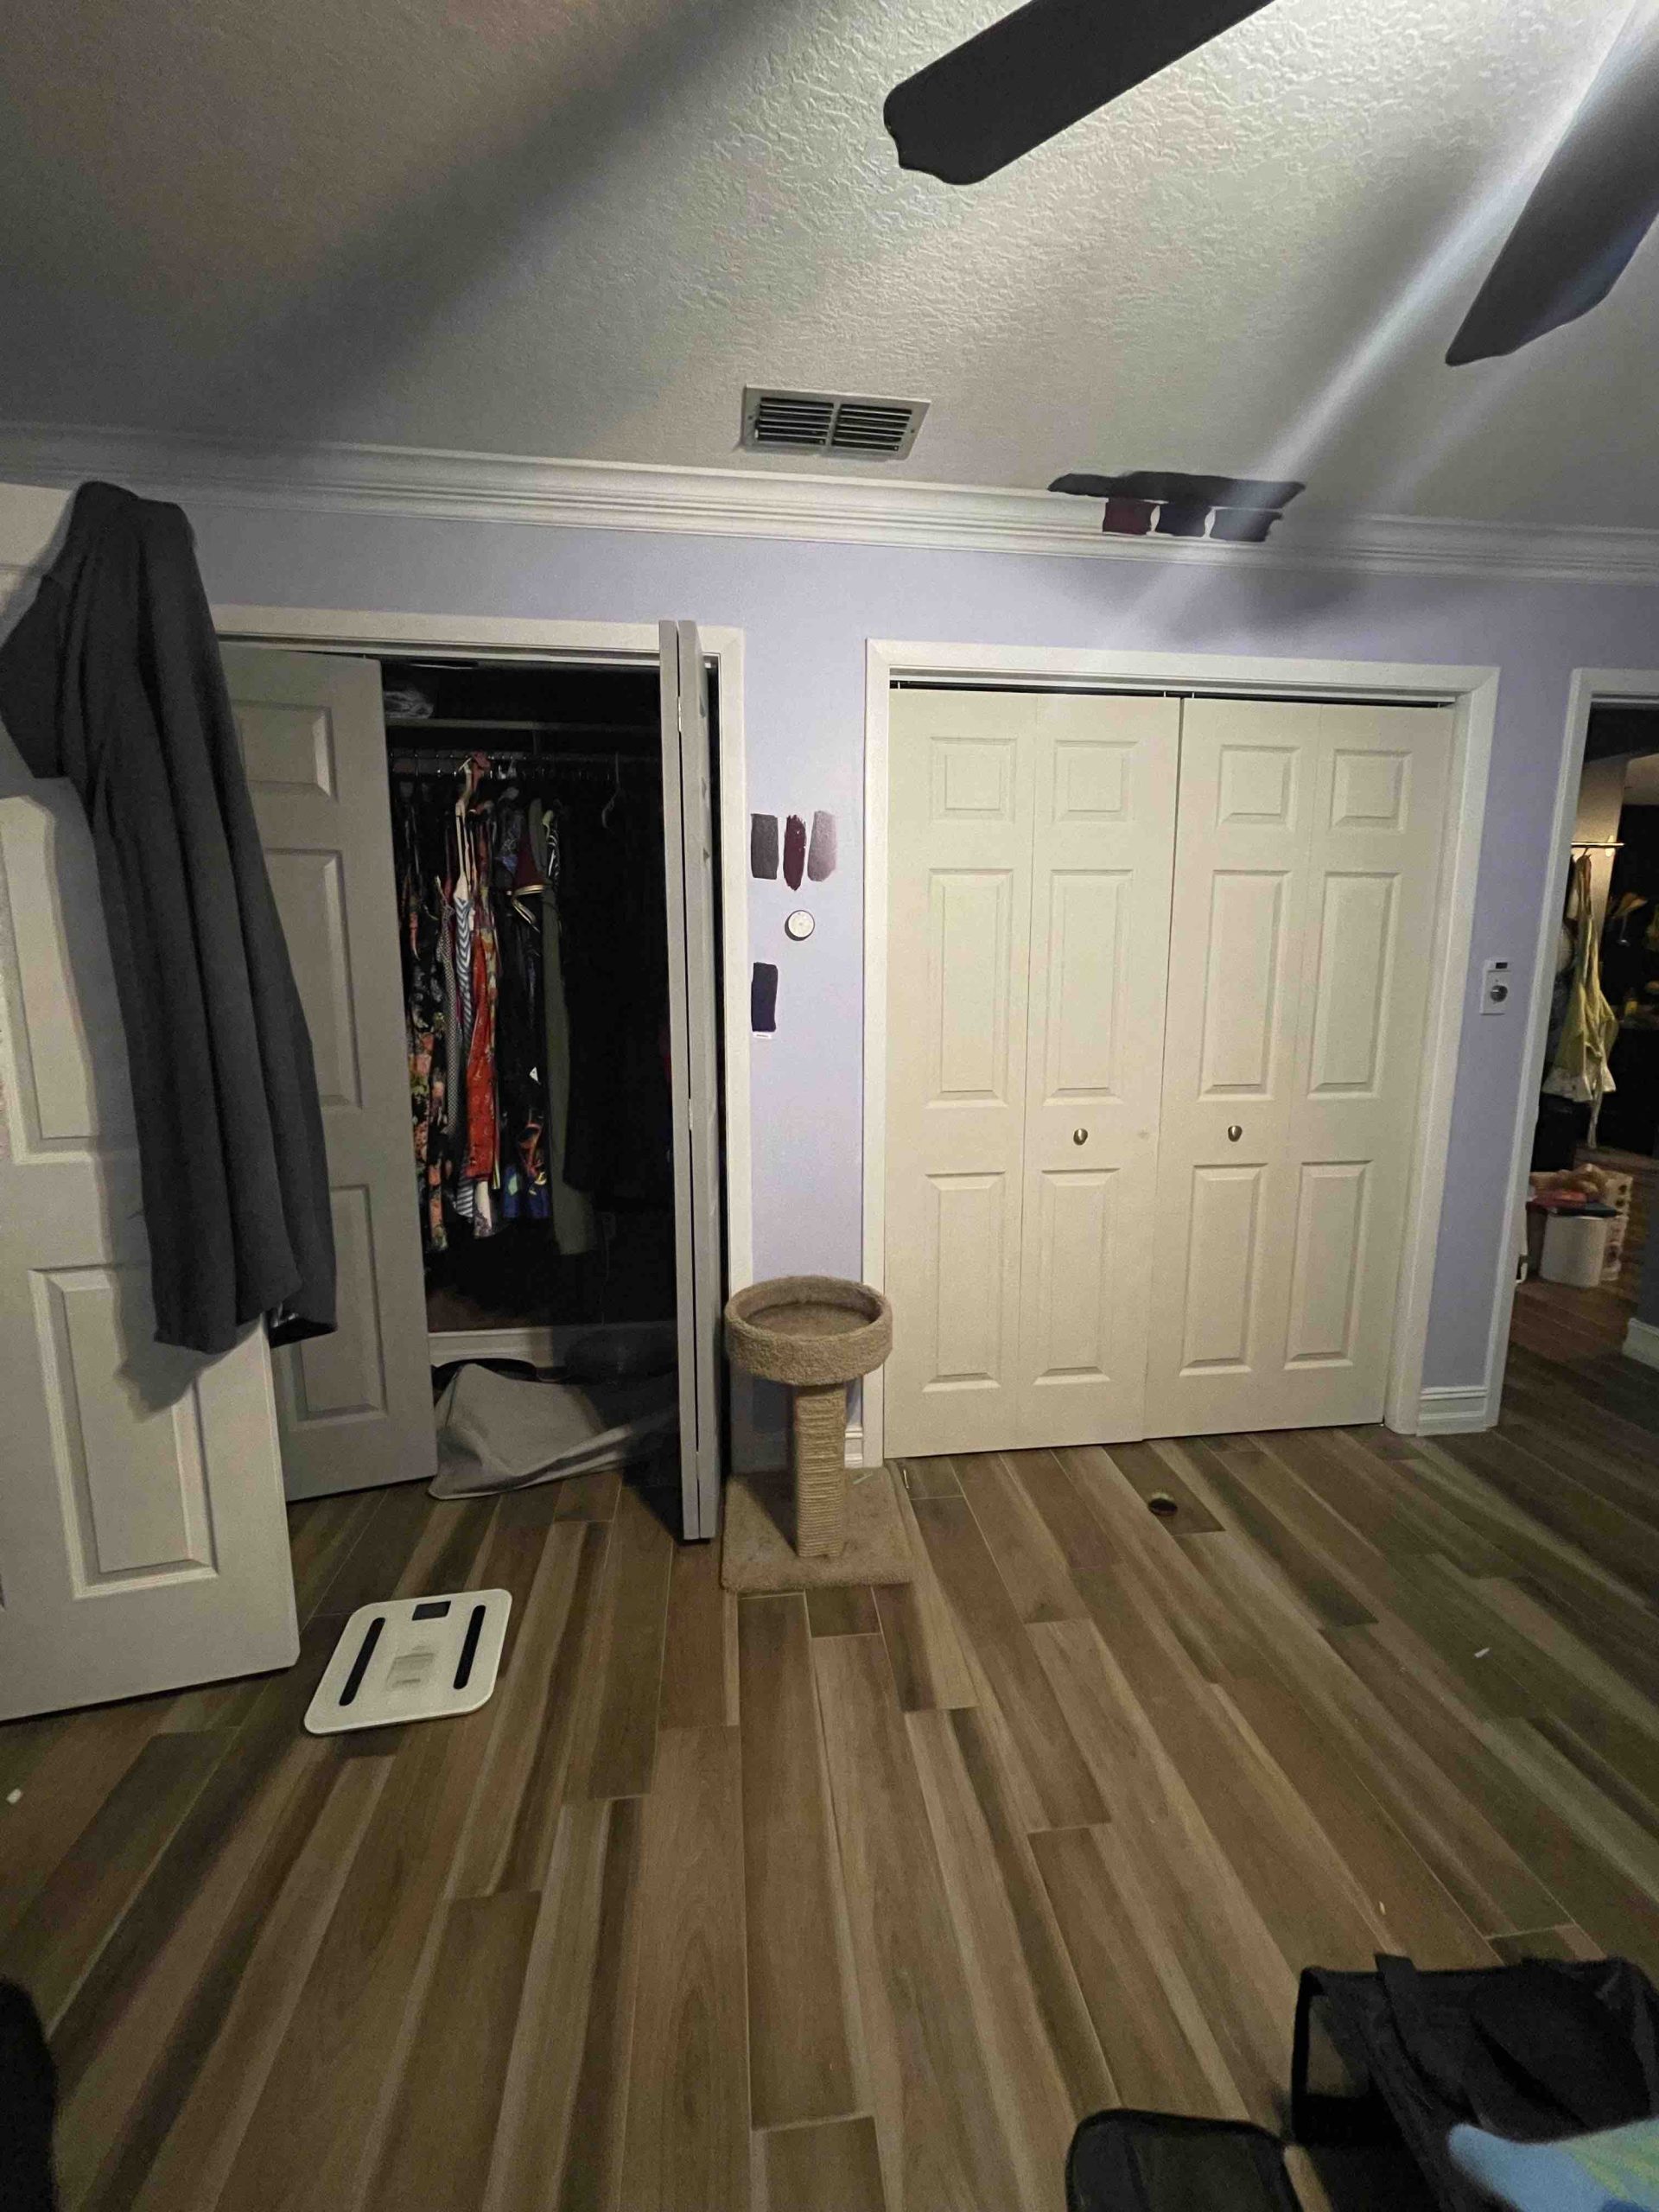
Ever wonder why that small divider wall is there between your closet?
- In my case it was there for two reasons
- To act as an anchor for the doors
- To fit standard door sizes
- The wall can be load bearing! This means it’s helping hold up your roof and transfer the load!
A disclaimer: Make sure you know whether this is a load bearing wall, Afro and Reno is not liable for any damage caused by not understanding the risks of removal. Consult a structural engineer before removing any walls.
Why is that wall there? Honestly, It’s really simple. It’s there to hold the door frame in place for standard doors. My closet is 12 feet wide, that is not a practical size for many door openings…..soon I’ll be custom building my own door for this opening but first we need to demo it.
The framing on your opening has a lot of parts. All of these parts work together to hold up your walls your ceiling, the door and everything in between. If you are not sure about how all these parts come together or whether or nor they may be structural, have the area inspected by a professional and a structural engineer.

1: Anatomy of a Door Frame
This post has some great info on framing: How to Frame a door rough opening
How is your door framed? What keeps everything together?
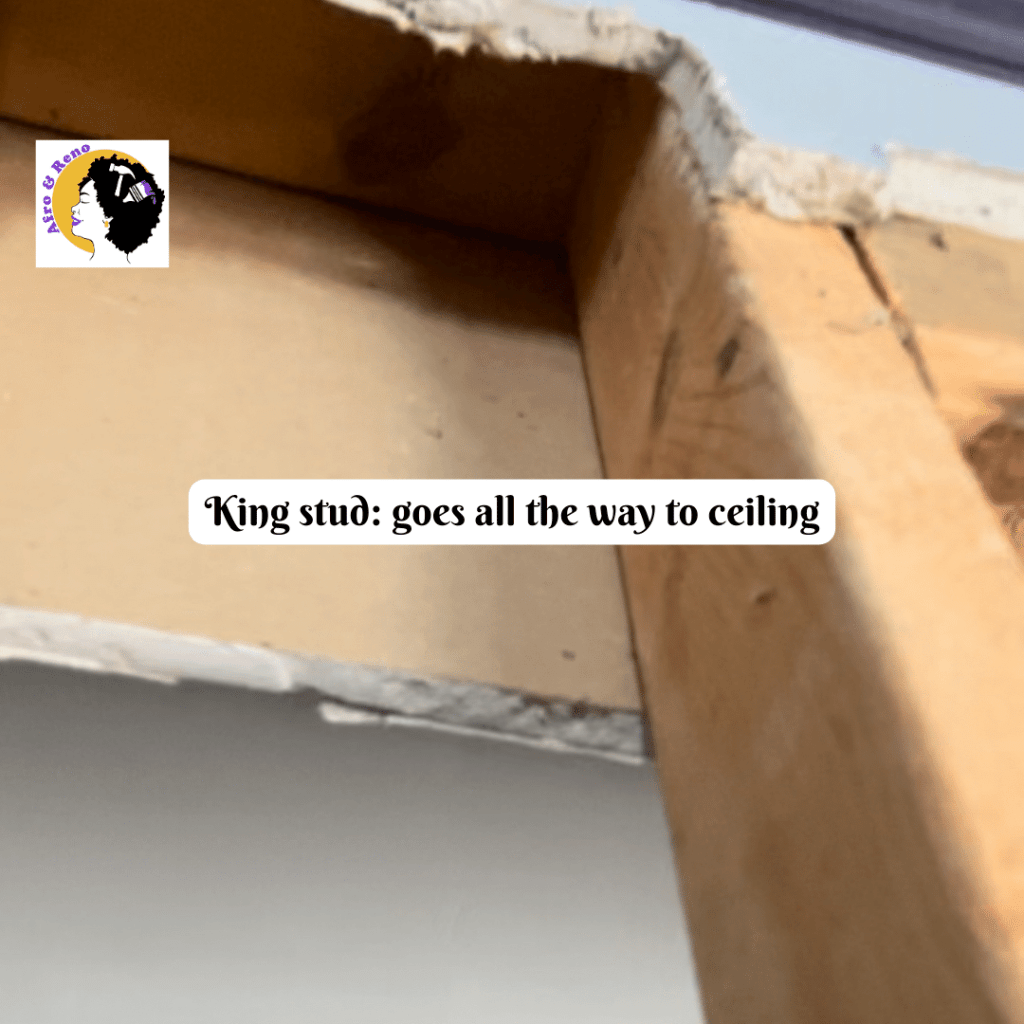
- King stud: Piece of wood going from ceiling to floor. Helps support the top plate along the ceiling
- Jack stud: Piece of wood going from floor to header. It is also nailed to the king stud. This helps bear the weight of the header and transfer load.
- Header: a horizontal piece of wood resting on the jack stud and in between the king studs.
2: Is it Load Bearing
This is the ultimate question as to whether a wall can come out or not. This will depend on your houses framing, roof geometry and how your trusses are meant to bear the load, among other things. In my case I know the trusses in my home bear the load on the exterior walls but this may not be the case for you.
I did consult with someone to verify the changes.
- Verify if wall (no matter how small) is load bearing with a professional
- Review your county/city/state/rules for changes to walls
- Permits may be required
- You may need drawings for the change, potentially from a structural engineer
- Know how your wall is framed and if weight needs to be distributed in other ways
3: Time To Demo the wall
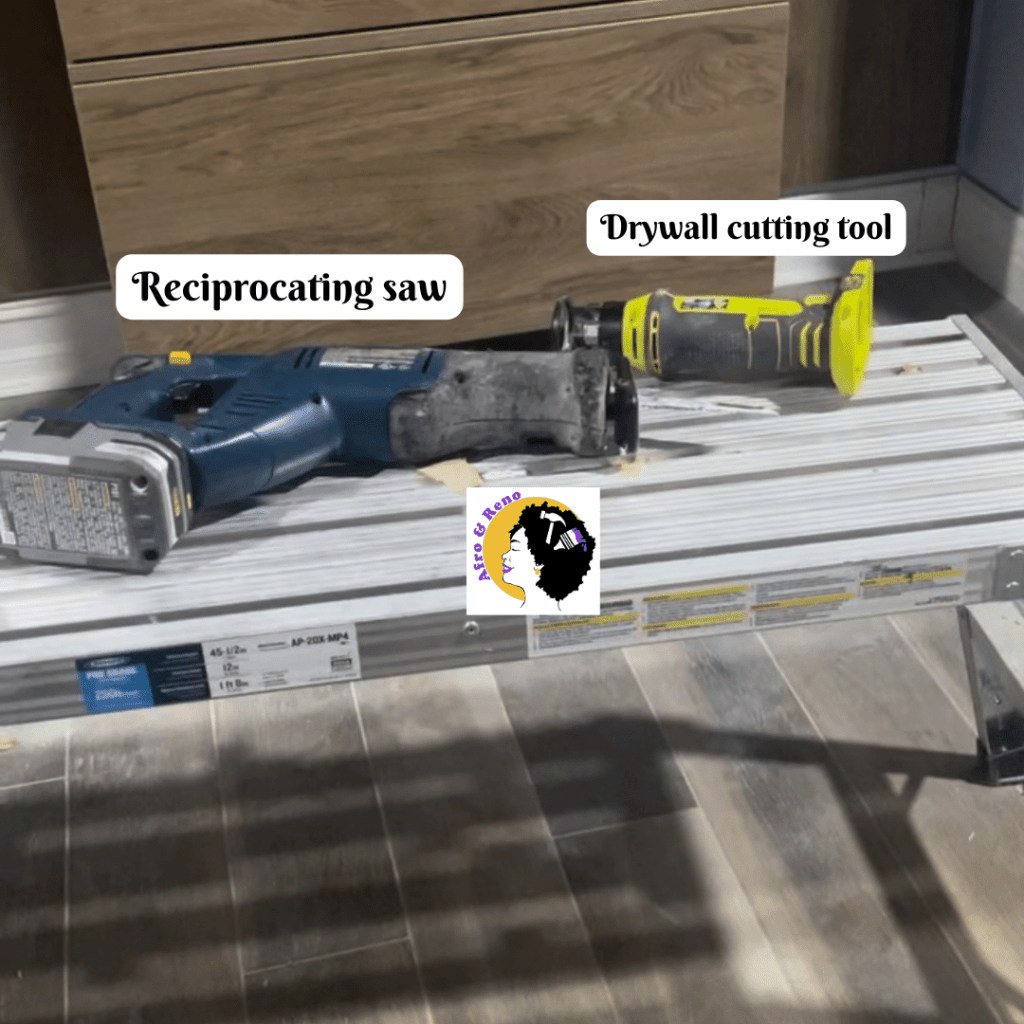
Tools Needed:
Removing the wall and is delicate. While HGTV may show people taking a big hammer to a wall. The reality is you want to be more careful, more surgical. Removing layer by layer.
Step 1: Remove drywall using drywall knife or cutting tool
Step 2: Remove Jack studs and header. These will be the easiest to remove. I used a prybar and some leverage
Step 3: Remove King studs. This was a little harder as the jack stud was nailed very well to the concrete floor. In the end I used a reciprocating saw to remove the bottom part of the jack stud.
4: Put it all back together, no more wall!
Remembering the basic parts of the original framing for an opening the larger opening needs to have the same components. Instead of having two of each to make two doorways I only needed one, spanning the larger opening,
- King studs already existed at the left and right sides of the opening so I did not have to add new ones.
- New jack studs were added to the new opening height
- New longer header was added to the top, spanning horizontally, toenailed into the king studs and nailed to the jack studs.
If you haven’t already Check out the previous weeks of the ORC to see the progress and the moodboard!
 Tamarah of Afro and reno standing infant of he now large open closet without a divider
- King studs go to the ceiling, jack studs hold up header
- Framing with jack stud removed
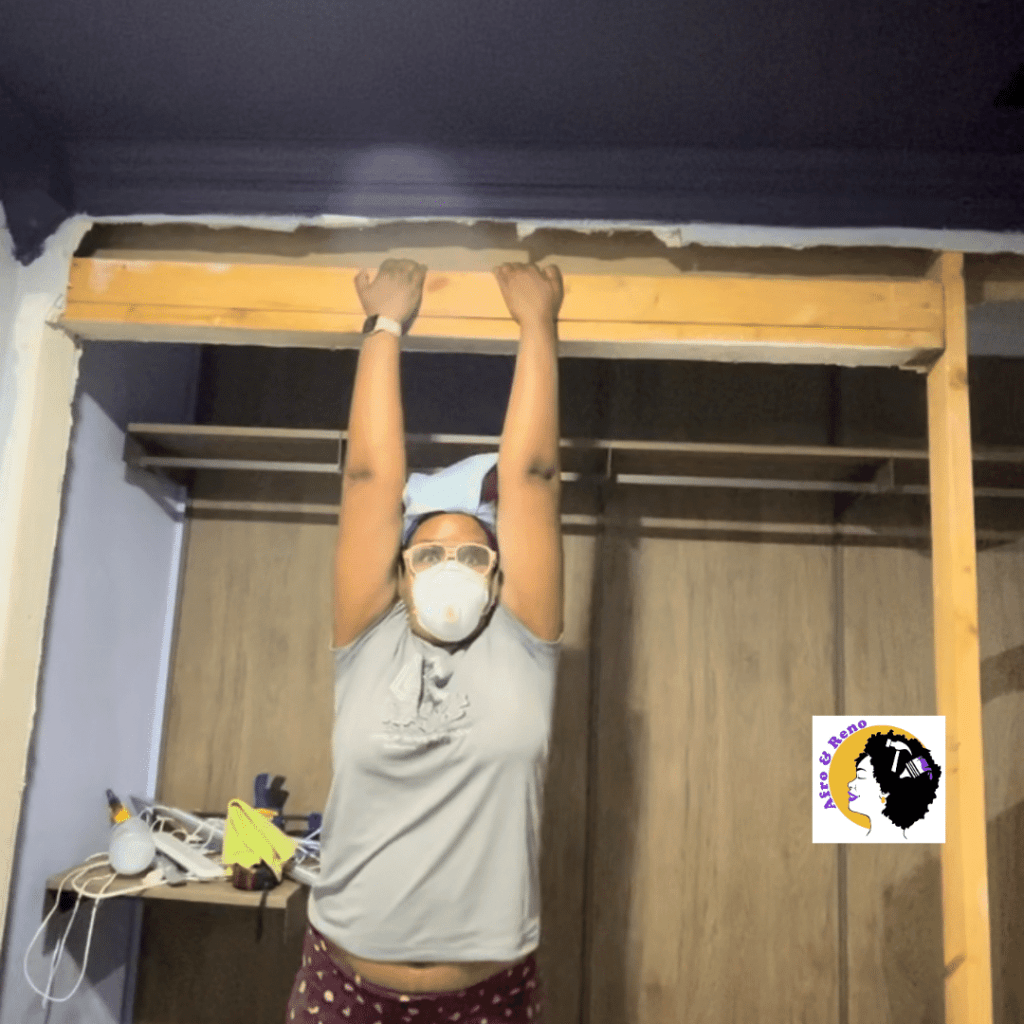 Hanging on
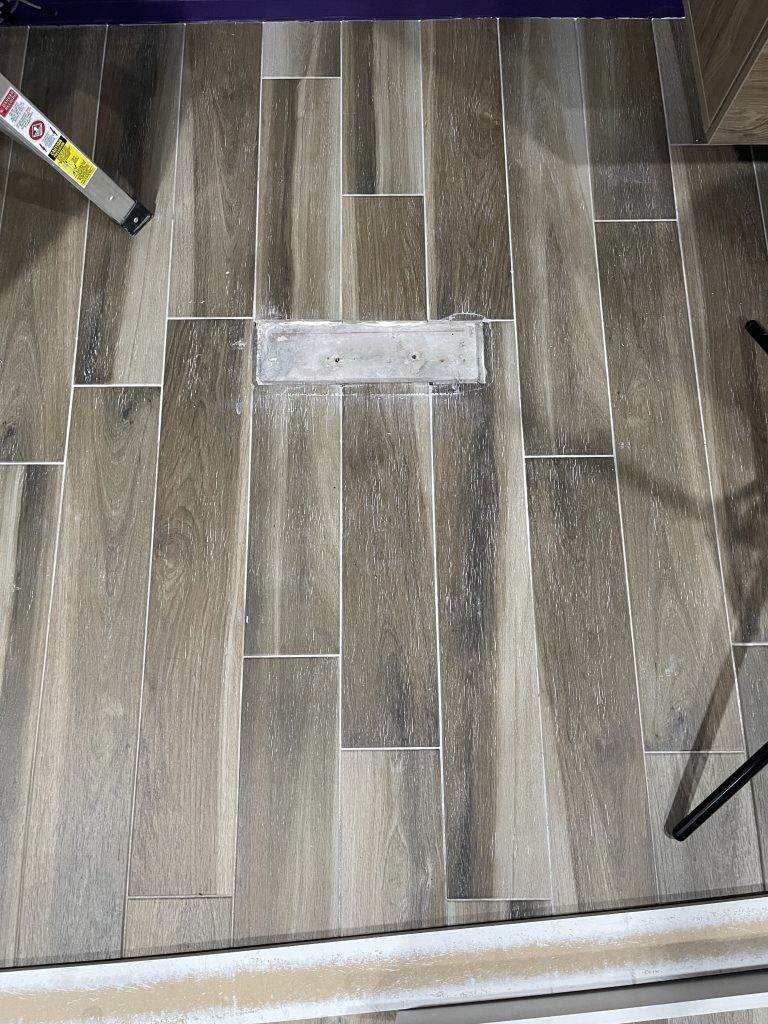 The Floor after wall removal
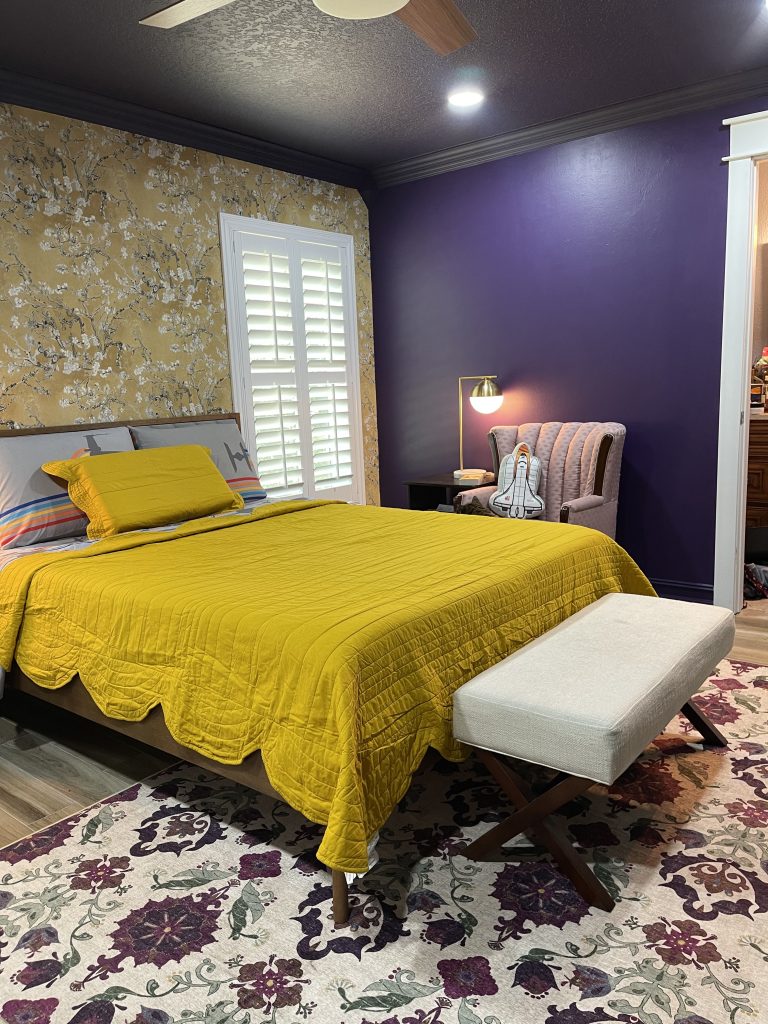
See the Complete Bedroom Renovation Journey as part of the ORC:
Not sure where to start in your home improvement journey?
Home improvement Best sellersLatest On the Blog
-
Kitchen Glow-Up for Every Budget: From Broke to Big money!
Are you a broke-y, balling on a budget or Big Money? Your Kitchen budget will help you decide where and when to tackle a Kitchen Renovation.
-
How to change you car cabin and engine air filter
In a Honda Fit, I’ll show you how to change your air filter and some tips I’ve learned along the way. It’s a good practice to check them at least once a year.
-
DIY · Garden · Tips and Tricks
Grow pineapple the easy way
The easiest way to grow pineapples is from a pineapple top. You know, the part you take off before cutting into the delicious fruit!


Oldies but goodies On the Blog
-
Boxes are for objects, not people
I am not a stereotype and I don’t fit into the boxes people think a Black woman fits in.
-
One Room Challenge (ORC): Fall edition
Customizing the kitchen one drawer and cabinet at a time as part of the ORC
It’s that time again for another One Room Challenge (ORC). I participated for the first time in the Spring starting phase one of the kitchen renovation. I will do a post later on this month how the spring challenge went. Hint: I finished it this week!
-
DIY | Home Improvement | Kitchen | ORC | Woodworking
Building a custom drawer: Recycling Bin
Customize your kitchen on a budget. This week we tackle building a custom drawer for a recycling bin. Works with a trashcan or easily modified for both!