How to Prep Your Ceiling and Paint a Bold Color
What you should consider before painting your ceiling
One Room Challenge Week 2: All the things you should consider before painting your ceiling especially a dark color. Prep, prep and prep some more.
This week as part of the One Room Challenge we tackled the most boring part of any transformation Prep. Your ceiling is the 5th wall that most people forget about painting. Honestly when I first moved into my home and painted everything, I never even considered painting the ceiling…because celling re supposed to be white. Right?? WRONG!
Painting your ceiling can be a fun bold way of adding depth and some interest to your room, butt before you get the roller out, you need to prep. Now these steps work for your walls also but in this post we’re going to focus on you ceiling. If you’d like to see the moodboard for this space go to the Purple and Moody Main Bedroom post.

The Tools You’ll Need
- Paint Scraper
- Drywall patch
- 220 Grit Sandpaper
- Paint Ultra Flat for ceilings
- Primer (regular, light walls)
- Primer Gray (Dark walls)
- Tarp
- Paint Sprayer
- Wagner EZ roller to paint (see how to set up and use here)
- Hammer or screw driver for nail pops
Prepping you ceiling Steps
- Use a scraper to remove bumps on your wall
- Patch any holes and Fix nail pops
- Sand your wall to remove extra sheen (especially if you have glossy finish)
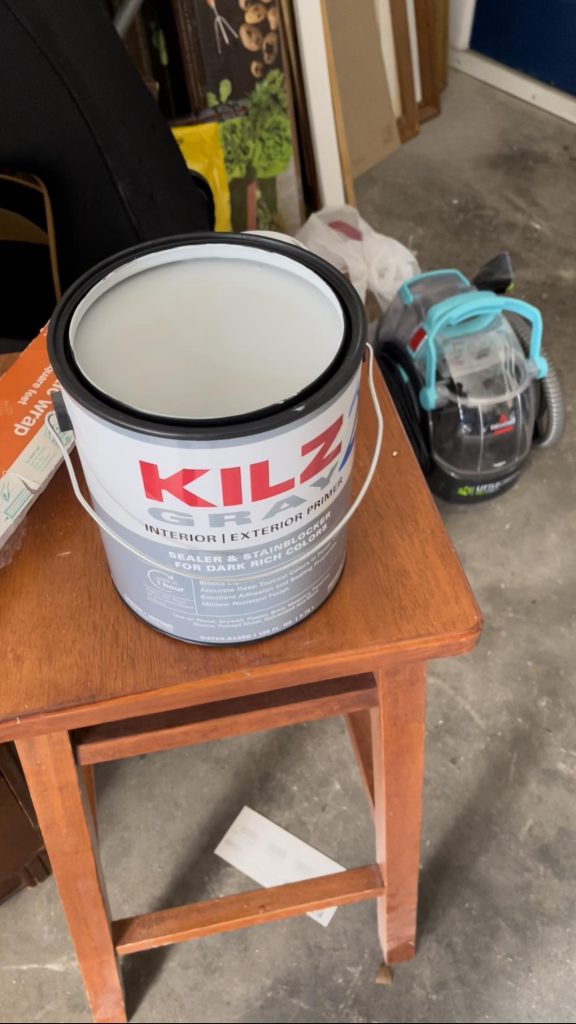
- If you are painting a Dark color consider using tinted primer or something like a Kilz 2 Gray
- Clear out your room and place tarps on surfaces you don’t want paint on
Did you know if you’re painting your ceilings you cannot get an ultra flat ceiling paint from the major Home Improvement stores? You have to get flat wall paint, which still has a bit of sheen to it. Ceiling paint only comes in the lighter base, which I hope with the trend of people painting their ceilings, they’ll reconsider.
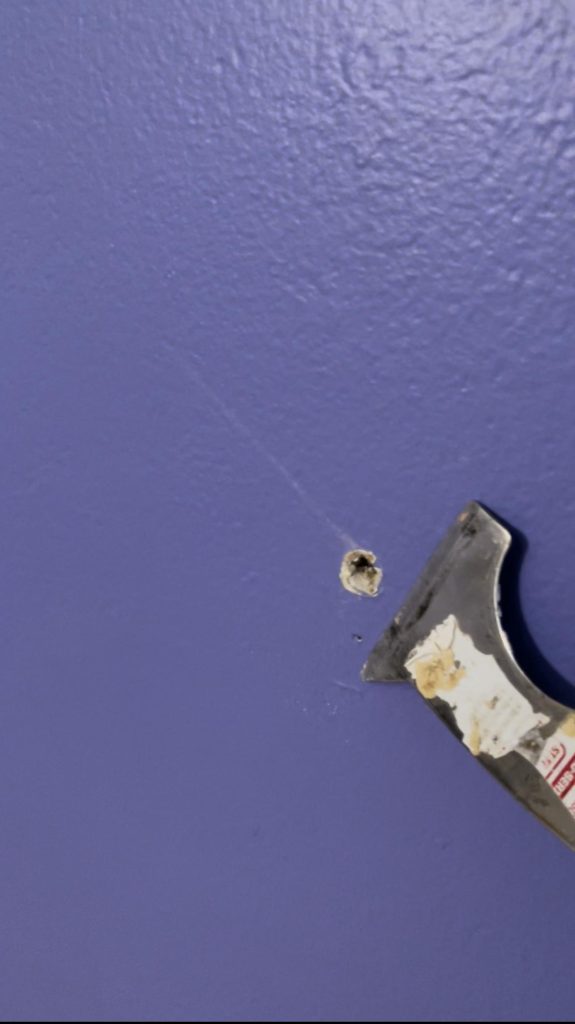
1: Using A Scraper to remove bumps on your wall or ceiling
These are usually caused by improperly mixed paint or something getting on the wall before the paint dries. I know someone who calls these wall pimples! I like to use my 5-1 tool for this because it has so many uses! I just use the flat side to scrape the wall.
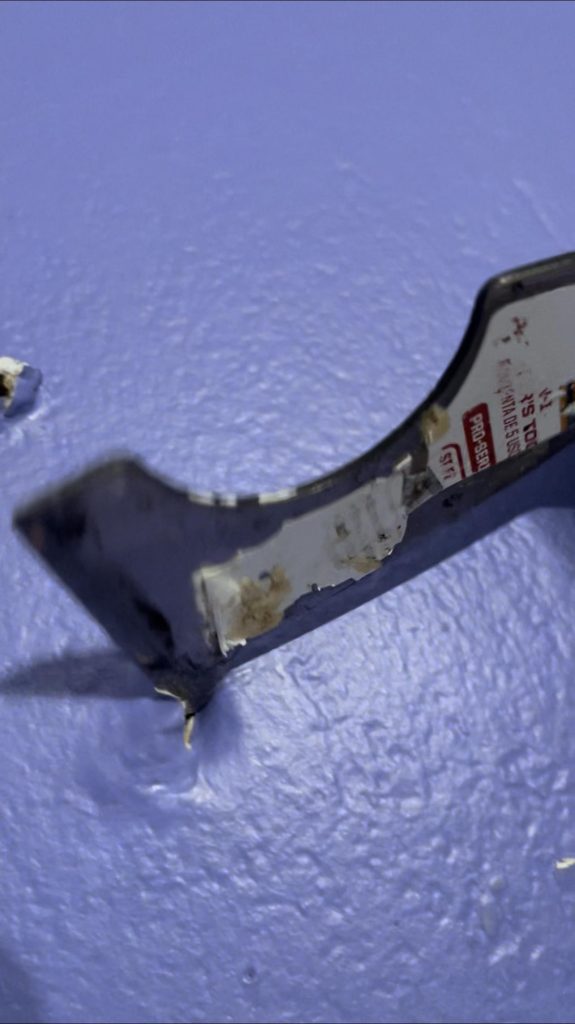
What not do do when patching a wall, fill it with newspaper and use caulk! This will not be a patch that lasts! This is exactly what I found while doing this step, some Sunday funnies in the wall. The “patched hole was caving in and not stable.
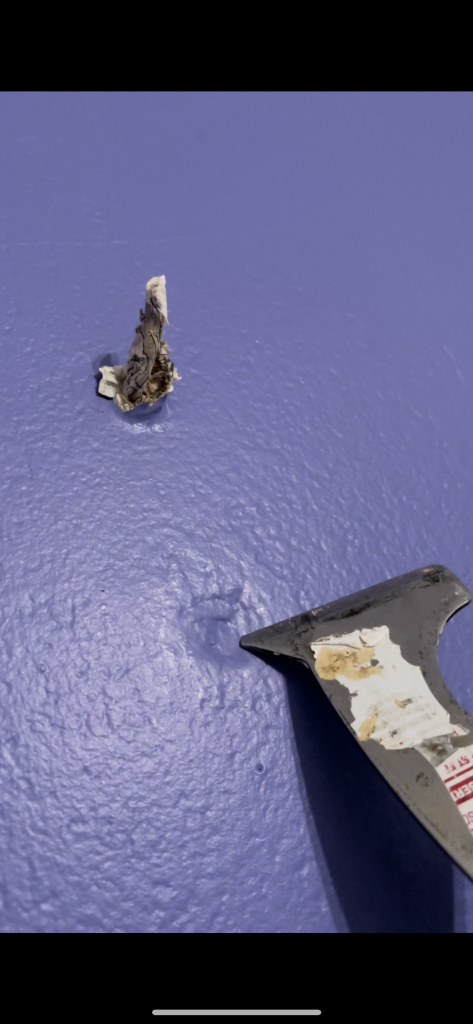
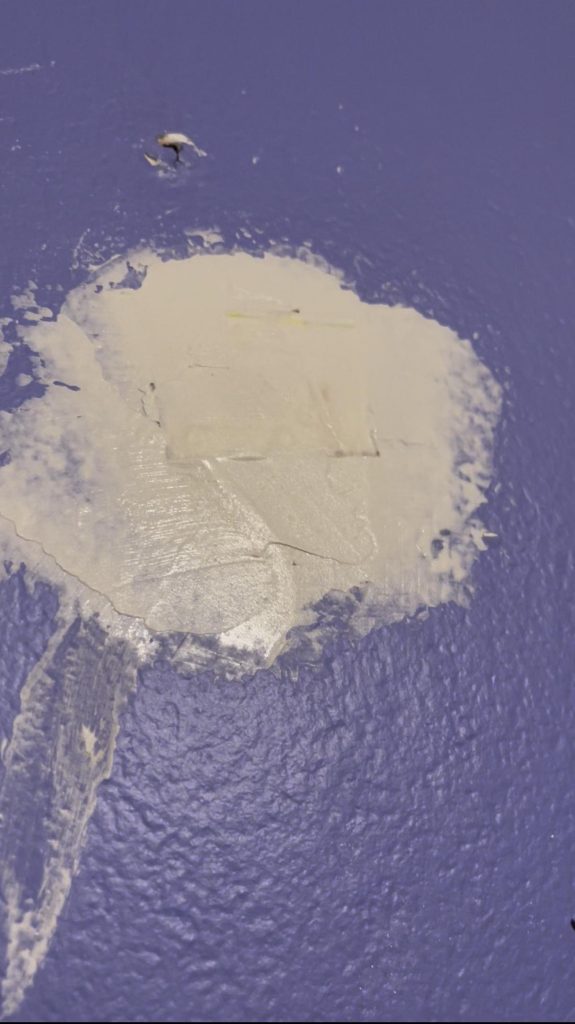
2: Properly patch any holes in you wall or ceiling
To fix larger holes I like to use what is called a California Patch. (not sure who named it but the whole state gets credit for this. Basically you cut a piece of drywall bigger than the hole, cut part of the drywall to fit the hole leaving excess paper around it, then you use some joint compound and putt it in the hole!
Jeff at Home-renovision DIY does a much better job explaining this here. I’m not sure if my patch is a world record but it is the tinies patch I’ve eve made.
3: Prime your surface
Or at least sand down the shine if you have a glossy painted surface. You want to make sure that your new paint will adhere to the surface. The worst feeling is to do a whole paint job only to run a fingernail through it and see your new finish come off.
A great option if you’re going with very bright colors or a dark color is to get a tinted primer. In my case I used the Kilz 2 Gray primer. It helps promote adhesion and since it isn’t as light of a color can go to the new dark color more easily. According to the brand it “Enhances hide under dark, rich colors”


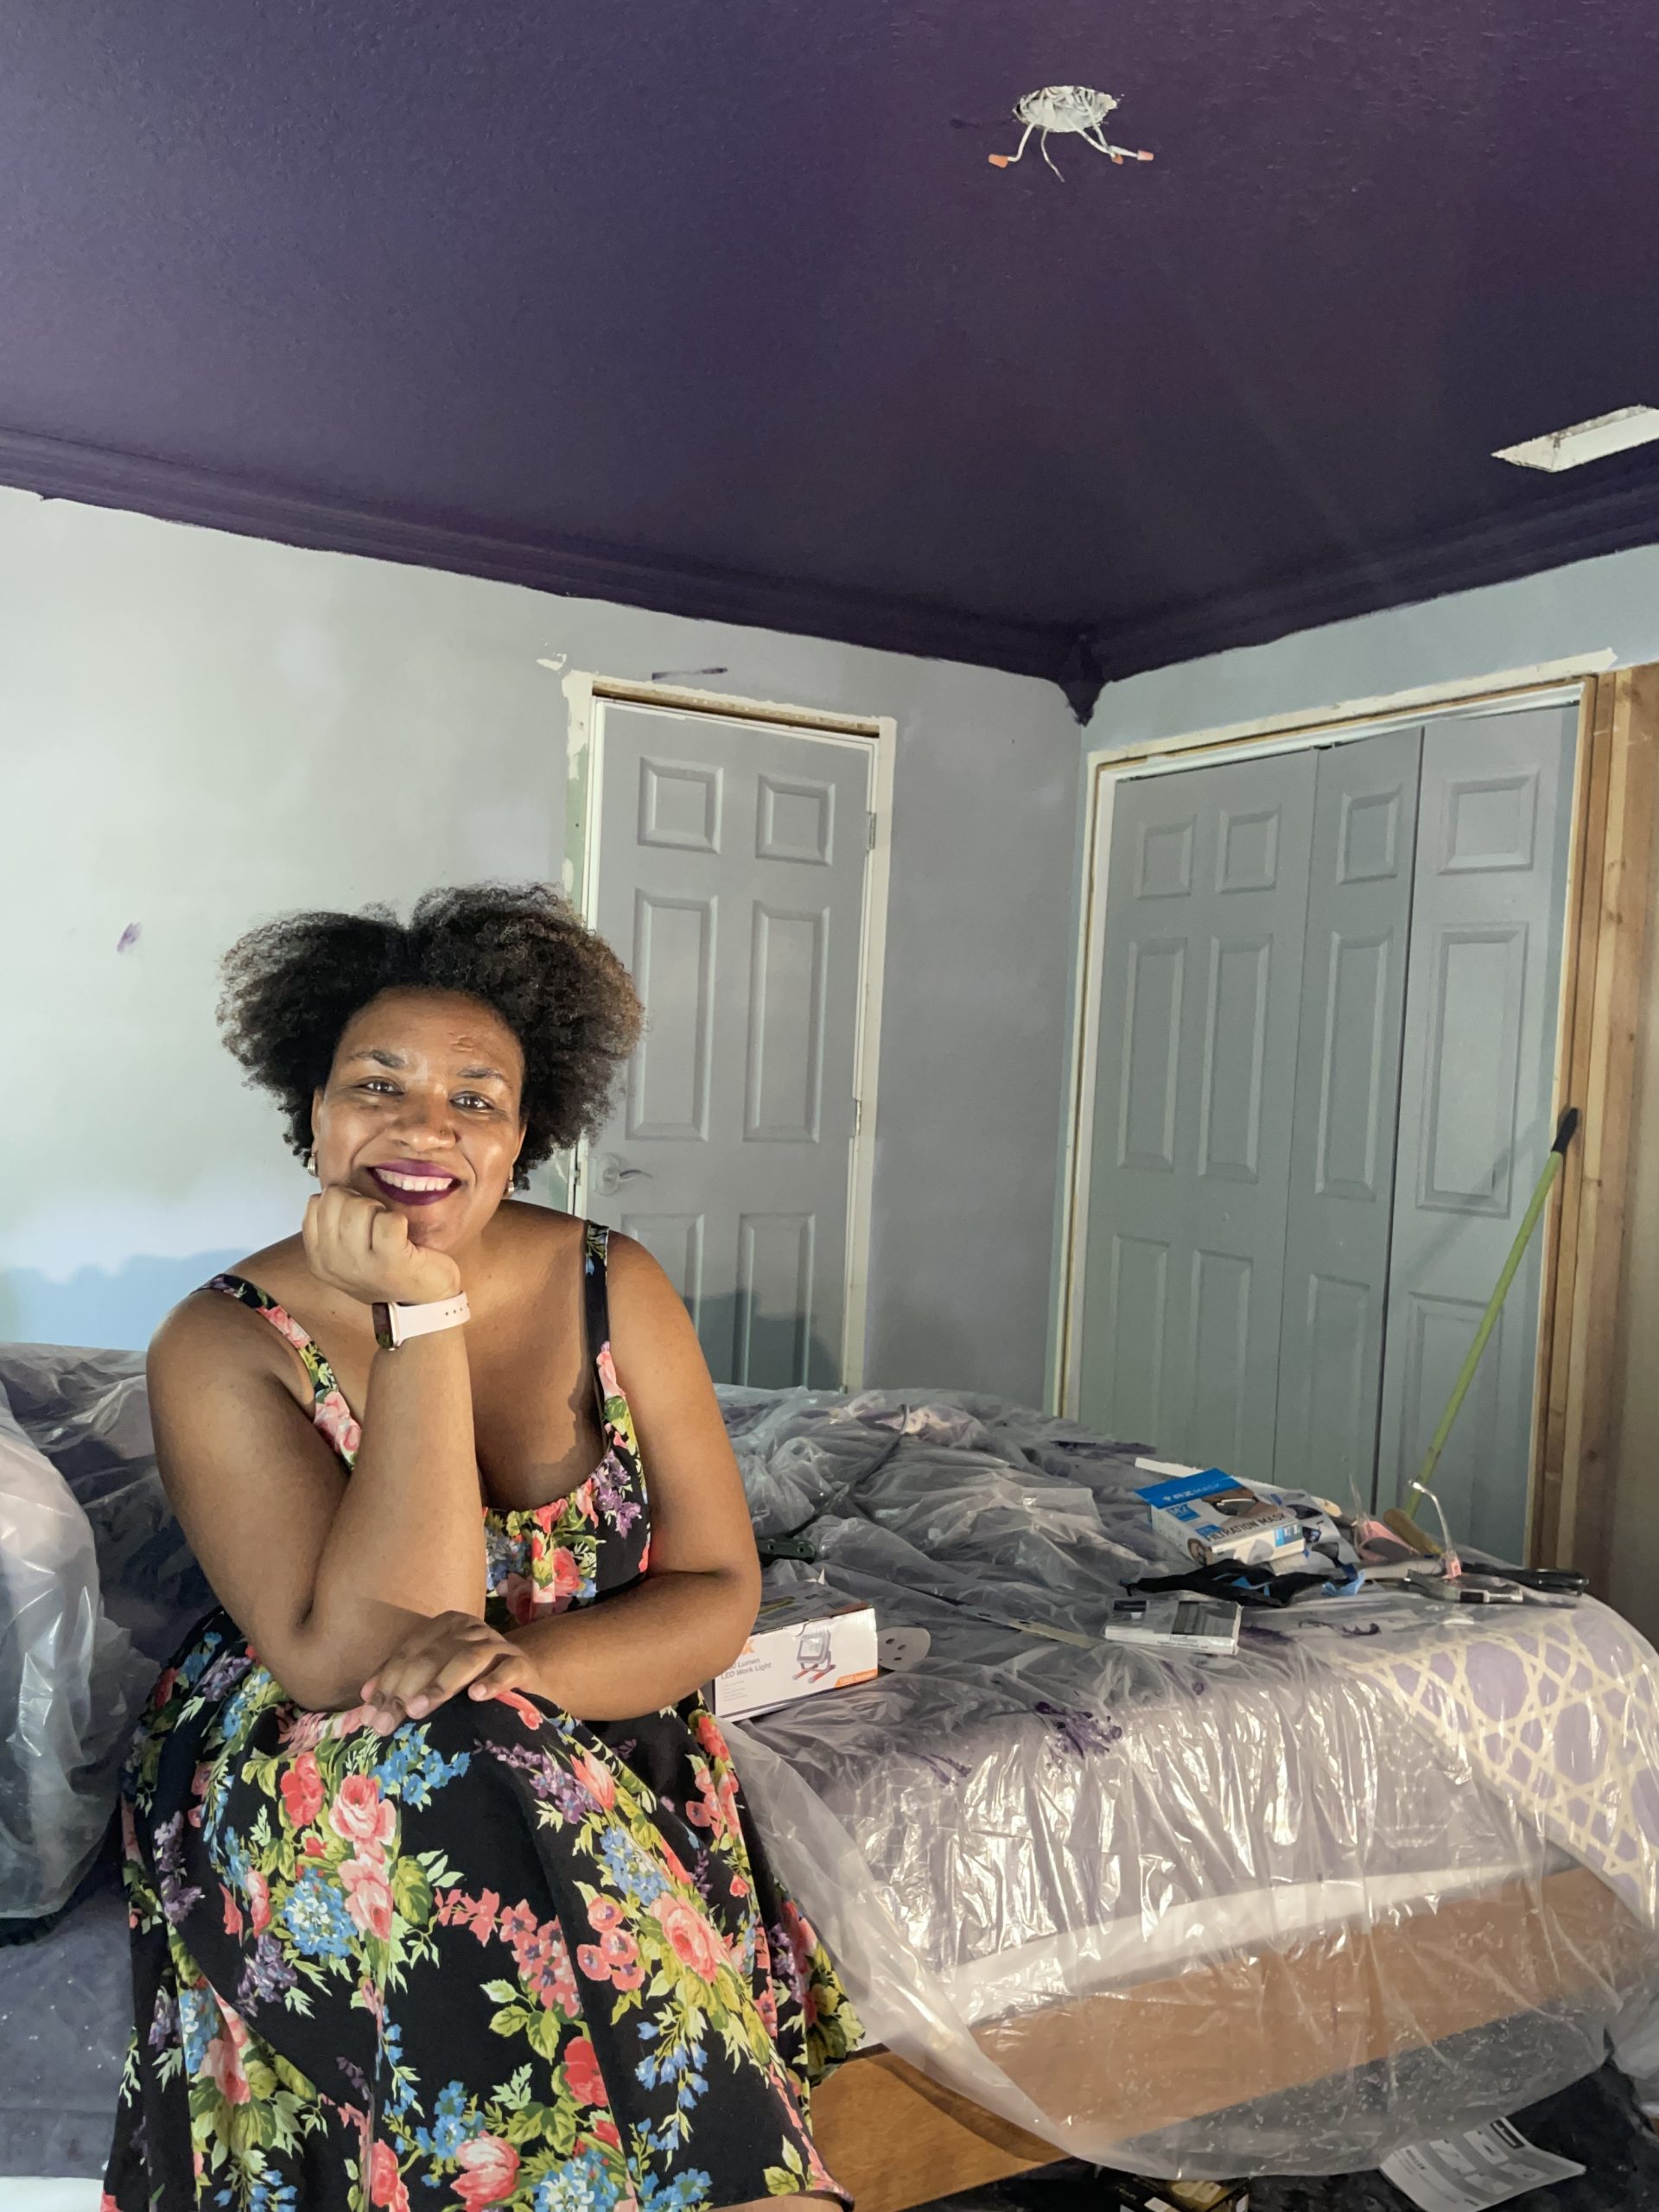
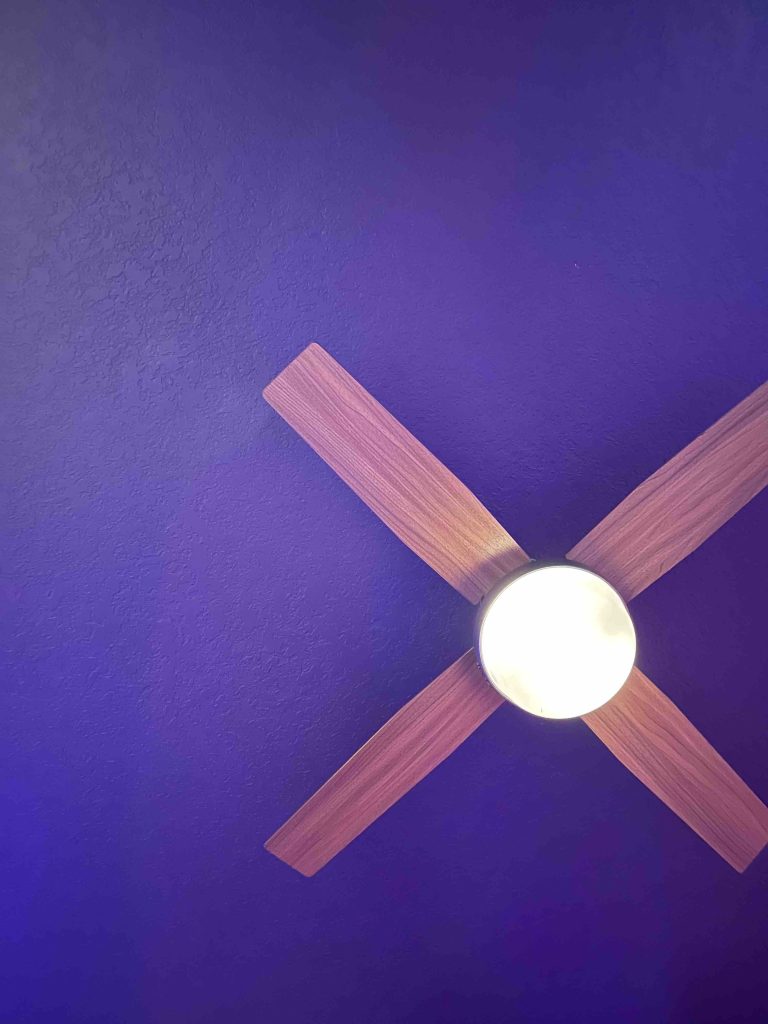
The Reveal
Heres a look at the ceiling in all its glory. Thats it for Week 1 of the One room Challenge, the hope for the end of week 2 is to have some new lights, a fan and the walls painted. Wish Me luck!


All the ORC posts
Latest On the Blog
-
Kitchen Glow-Up for Every Budget: From Broke to Big money!
Are you a broke-y, balling on a budget or Big Money? Your Kitchen budget will help you decide where and when to tackle a Kitchen Renovation.
-
How to change you car cabin and engine air filter
In a Honda Fit, I’ll show you how to change your air filter and some tips I’ve learned along the way. It’s a good practice to check them at least once a year.
-
DIY · Garden · Tips and Tricks
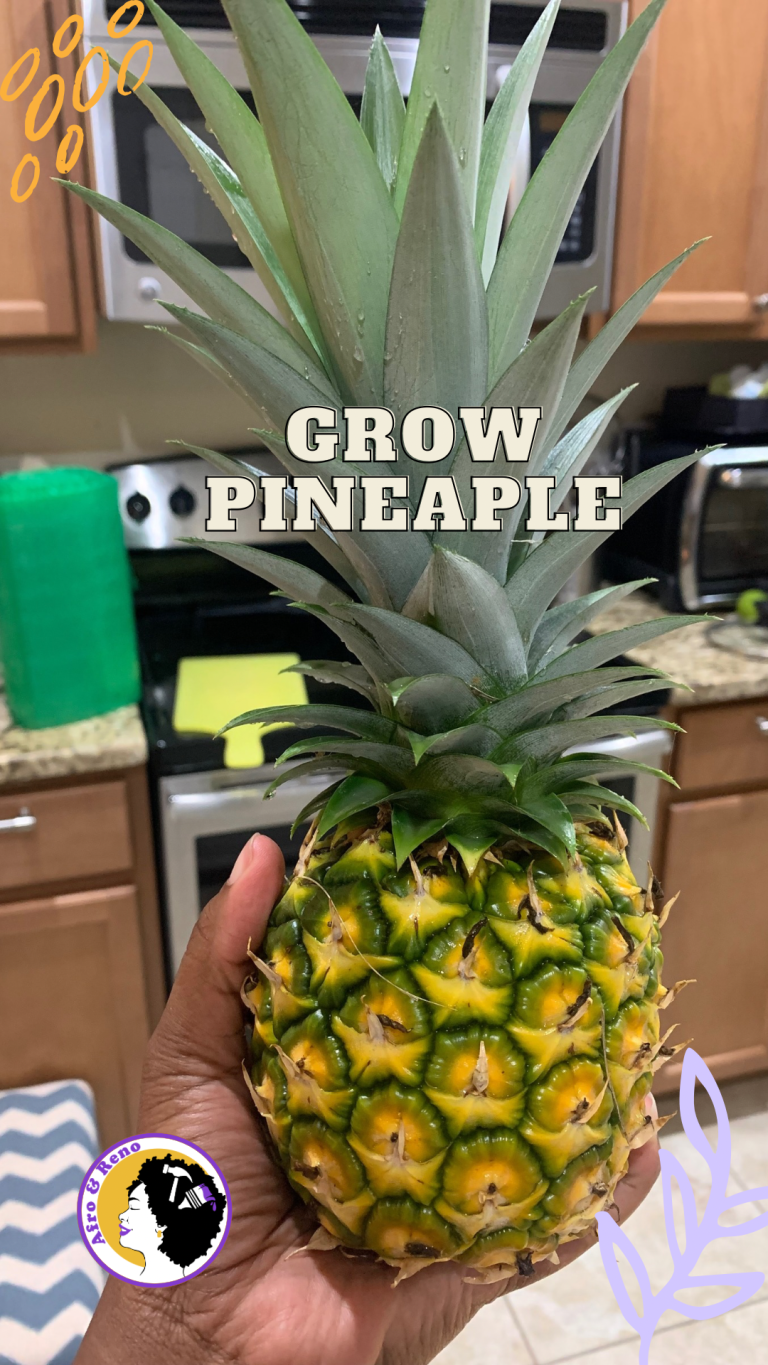
Grow pineapple the easy way
The easiest way to grow pineapples is from a pineapple top. You know, the part you take off before cutting into the delicious fruit!

Oldies but goodies On the Blog
-
Boxes are for objects, not people
I am not a stereotype and I don’t fit into the boxes people think a Black woman fits in.
-
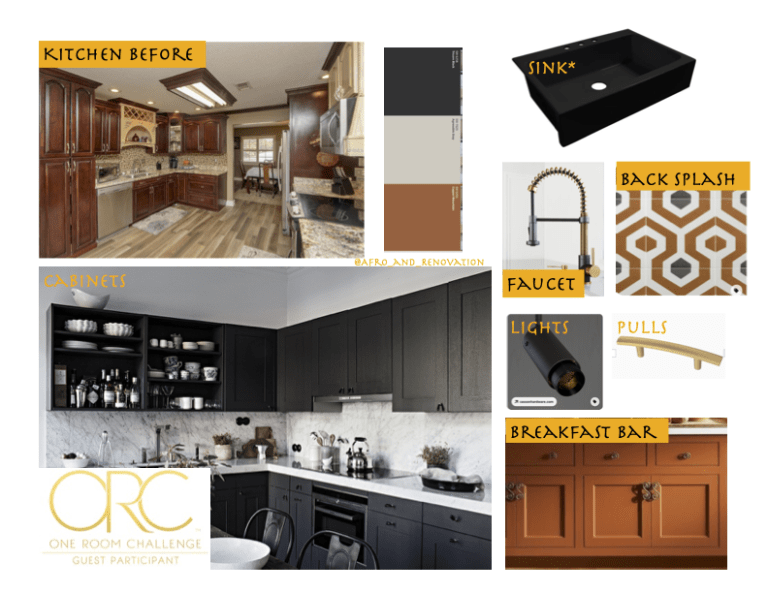
One Room Challenge (ORC): Fall edition
Customizing the kitchen one drawer and cabinet at a time as part of the ORC
It’s that time again for another One Room Challenge (ORC). I participated for the first time in the Spring starting phase one of the kitchen renovation. I will do a post later on this month how the spring challenge went. Hint: I finished it this week!
-
DIY | Home Improvement | Kitchen | ORC | Woodworking
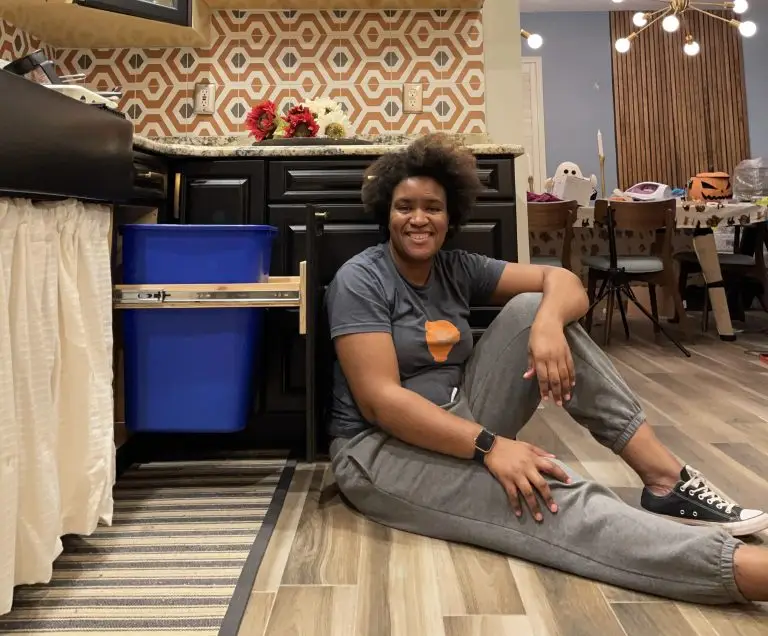
Building a custom drawer: Recycling Bin
Customize your kitchen on a budget. This week we tackle building a custom drawer for a recycling bin. Works with a trashcan or easily modified for both!


Hey Tamarah,
Fellow one room challenge participant here. Kudos to you for all the prep work you have done. This is the part that makes me run away. So I’m really amazed at the size of project you have taken up. Looking forward to the transformation 👍🏻
Thank you! Prep is boring but so necessary for a great finish!!!