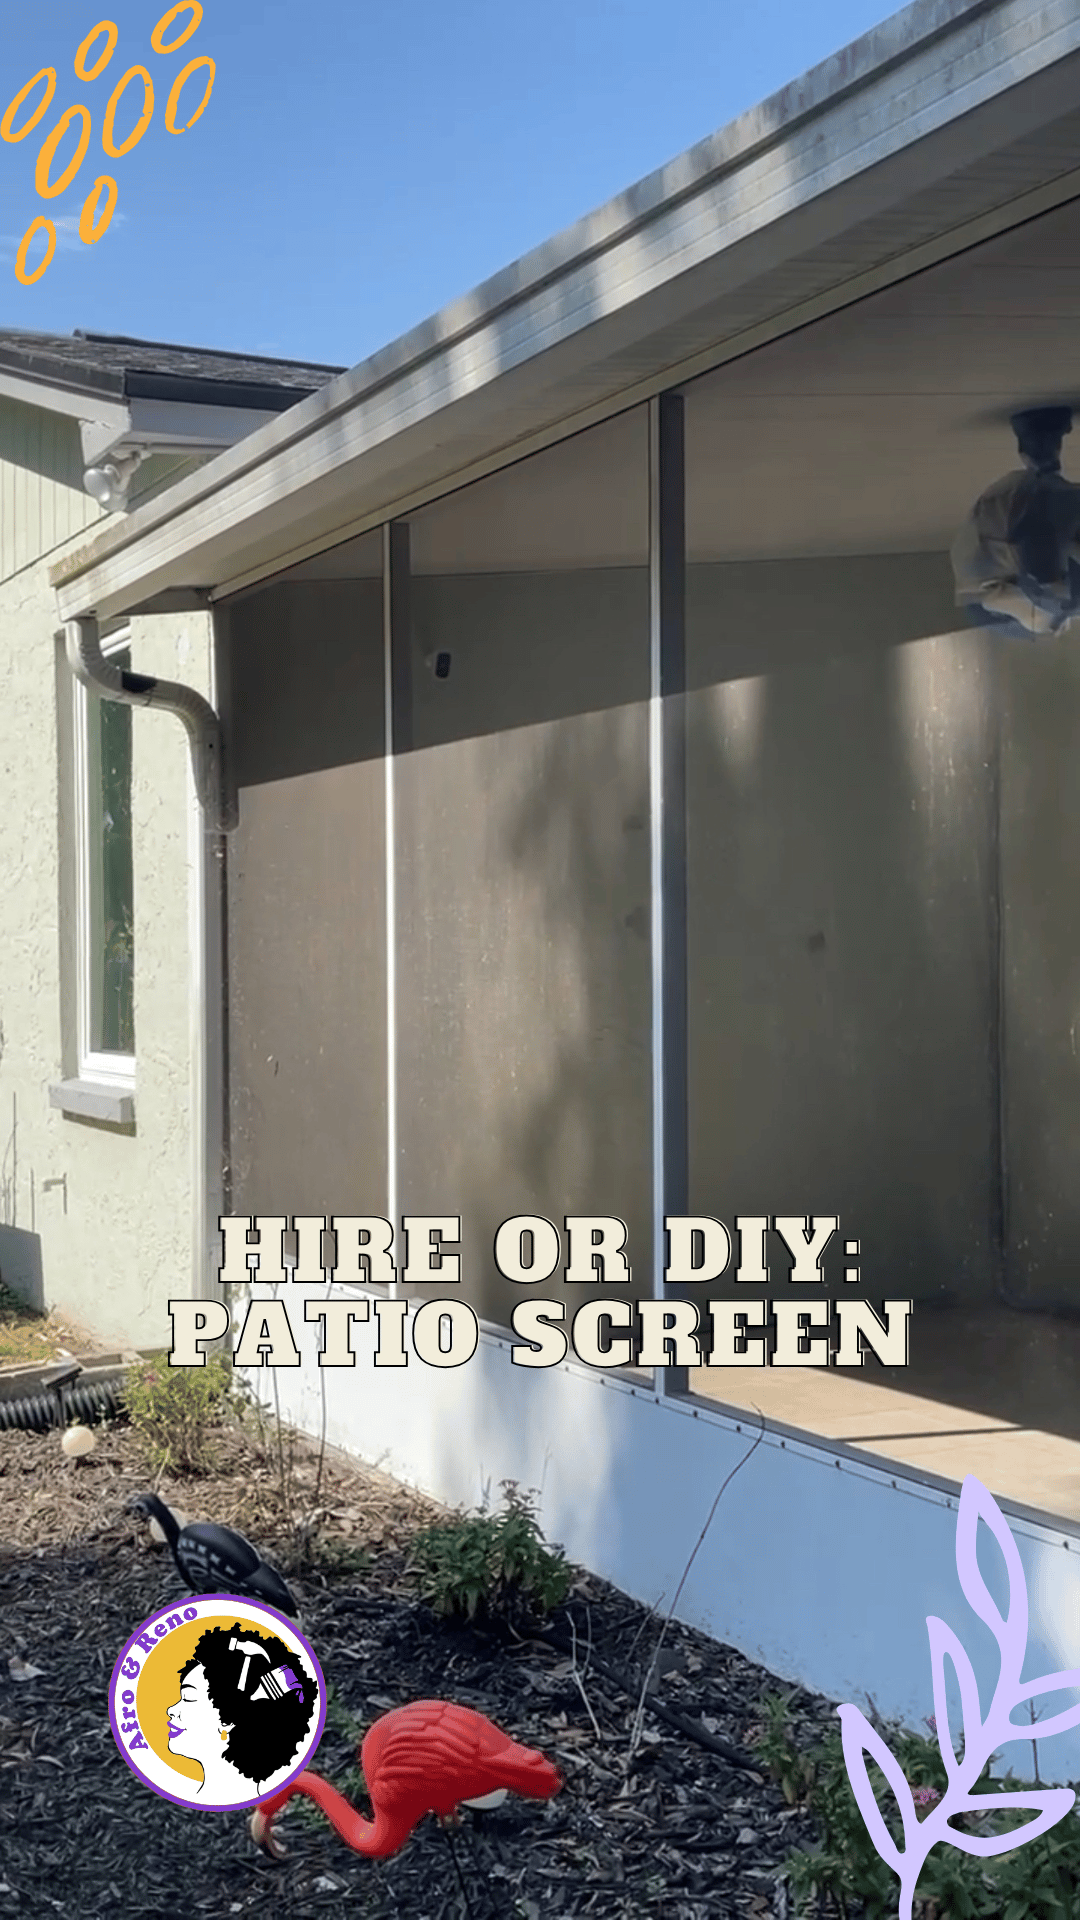
How to re-screen your patio, should you DIY?
Has your patio seen better days?
Does your patio screen have holes? Is it brittle from years of use/the sub and UV rays? It might be time to re-screen. This does not have to be a daunting task, whether you choose to DIY or hire a pro, here’s all the info you need to make this a smooth process. This is a recap of week 7 of the Spring 2024 One room challenge.

Why Re-screen, Rather Than Patch?
- Your screen has seen better days
- Too many holes
- Brittle (over time the screen material gets rough and dry)
- Doesn’t suit your needs (privacy, pet damage etc)
- Keep bugs out
- Extend life of enclosure
- Improve appearance and appeal if selling
If you want to tackle this project on your own as a DIY or hire someone, these are the steps and tools need two get the job done. You can decide yourself which option is worth I!

Tools For The Job
- Replacement screen (fiberglass or aluminum)
- Screen spline (rubber cord that holds the screen in place)
- Spline roller or get this Kit
- Utility knife or scissors
- Flathead screwdriver
- Tape measure
- Ladder or platform (if needed)
- Work gloves for safety
- Lots of elbow grease, this project is a workout!
What Kind Of Screen Do You Need?
Determine what your needs are. Do you want to prioritize privacy? Do you have pets who can scratch or climb the screen? Do you want more visibility. For each of these needs there may be a screen (or multiple) that can meet your needs!
My priority is durability with pets because I have several cats who can claw and climb the screen so I chose a Pet screen which handles sharp cat claps more easily and gives extra privacy. The cons of this screen is that it’s a thicker material so I had to get a smaller spline, and other is some reduced visibility.
Prep, Prep and More Prep
Choosing a screen (material + visibility + durability)
- Almost invisible (Amazon) , Walmart
- Standard screen (A) Walmart
- Pet safe (A), Walmart
- Increased privacy
- Better Bug Protection (A), Walmart
Remove any obstructions
- Remove screws or any trim blocking spline/groove
- Remove Gutters if they block grove or screen
- Protect any objects near screen or plants by laying drop cloths
Remove Old Screen
Take out old spline
- Use a flathead screwdriver to carefully lift and remove the old spline.
- Gently pull out the worn-out screen.
Clean your frame
- Wipe down the grooves where the spline sits to remove dirt and debris.
- Check for damage on the frame and repair if necessary.


Measure and Cut New Screen
- Measure your frame : Measure each section, add a few extra inches to ensure proper coverage. You can always cut the excess out.
- Cut screen to size: Use a utility knife with a new blade or scissors to cut the screen slightly larger than needed.
Install the New Screen
Position screen on frame : Lay the screen over the frame, making sure it extends past the edges. Especially one the grove where the spline will go. This ensures your screen is secure.
Secure screen using spline
- Use a spline roller to press the new spline into the groove, starting at one corner and working around the frame. This part may require some elbow grease, its a workout getting the spline securely in the grooves!
- Keep the screen taut to avoid wrinkles or sagging.
Trim the excess: Use a utility knife to cut off any extra screen outside the spline.
Final Checks and Adjustments
- Inspect the screen for tightness and evenness.
- Test by lightly pressing on different areas to make sure it’s secure.
- Repeat the process for additional sections if re-screening multiple panels.


Now What? Hire or DIY?

How long does it take to re-screen a patio?
It depends. I know, its not really an answer but you have to look at the size of your enclosure, are you an experience DIYer or is this your first, do you have the tools and money to get what you need. Here’s a breakdown of what to expect for DIY or for a pro to do the job.
DIY Install Estimate
Assuming an average-sized patio (10×20 feet) with multiple screen panels:
- Removing old screens and spline: 1–2 hours
- Cleaning frame: 30 minutes
- Measuring & cutting new screens: 1–2 hours
- Installing new screens and spline: 2–4 hours
- Final trimming and touch-ups: 30 minutes–1 hour
Total DIY Time: 4–10 hours ( One full day or two days spread over a weekend)
Keep in mind this will be:
- Faster, if you have experience or help.
- Slower, if dealing with large panels, tricky corners, or first-time mistakes.
Professional Install Time Estimate
- A professional team can complete the job in 2–5 hours depending on the size and complexity.
- A Handyman, if solo, can complete take 4-8 hours depending on size and complexity
- Either one will have the right tools and experience to work quickly and efficiently.
DIY vs. Hiring a Pro: Which Is Better?
| DIY | Pro | |
|---|---|---|
| Cost | Lower (material costs, ~$1–$3 per sq. ft.) + your time | Higher ($5–$10 per sq. ft.) + scheduling time to be home |
| Time Required | One day or two/ a weekend | Few hours to a day |
| Skill Level | Moderate (patience and attention to detail) | Expert |
| Quality | Good, mostly tight, may need some adjustments | Professional, tight, and durable installation |
| Convenience | Requires effort, free time, and tools | Hassle-free, less prep, but costs more |

Conclusion?
- DIY Route if you’re comfortable with hands-on projects, want/need to save money, and have time to work on the project. Extended times where the screen is off means bugs get in or animals
- Hire a pro if you want a professional, fast, perfect results without the hassle. BUT its always to take a look over their work too make sure the work is satisfactory or if they meed to make adjustments. Sometime you get what you pay for and even if it’s the higher bid, the quality sometimes isn’t there. So throughly vet you pro before hiring.
Maintenance Tips for your Screen
Whether you hired it out or spent the hours doing it yourself, you’ll want to keep your screen looking good for years to come. Here are somethings you can do to keep your screen looking like new longer.
- Clean the screen regularly with mild soap and water. This is especially important after the spring when pollen get everywhere and covers everything with a thick layer
- Avoid pushing or leaning on the screen to prevent sagging.
- Inspect annually for small tears or loose spline and repair as needed.
I have experience both DIYins one panel of my screen, hated the process and hired out the full re-screen. I valued my time and sanity over DIY this time around. Several years ago one of the screens had a giant hole, and one of the cats got out. The cat (Kit Kat) has never been out in the World… she was immediately spiked and I was ablet to let her back inside to safety.
That night I bought all my tools needed, a new screen, I took out the spline for the panel, and cut to size but lost daylight. The next day I spent what felt like hours putting the new screen in and vowed never again. Overall one panel took me about 5 hours, and my handyman had all 10 panels and the door re-screened in 8. Thanks Collin from the Heights Handyman!
Spring ORC 2024 Patio Refresh Posts: Week 1 | Week 2 | Week 3 | Week 4 | Week 5 | Week 6 | Week 7 | Week 8: Reveal