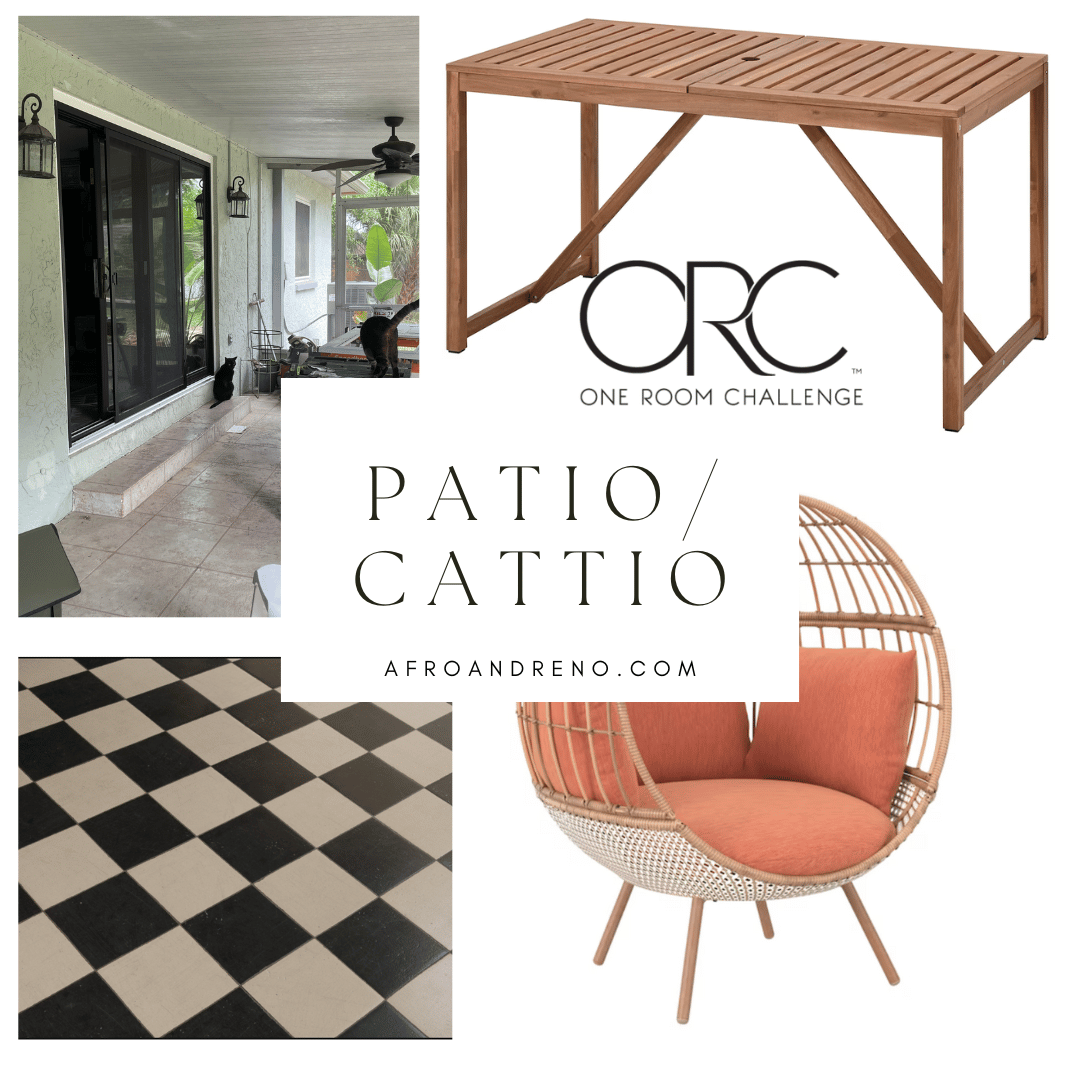
How to paint an aluminum patio, tips for success
This is a recap of week 3 of the The One Room challenge from Spring 2024


Painting Aluminum can seem like a daunting task. The biggest issue is that you can’t just slap some paint on it and expect amazing results.
Will the paint adhere? Will it last? or are you going to end up having to scrape up your attempt and call in a professional? Never fear! Here’s some tips on how I successfully painted my aluminum patio so that it could also be re-screened.
Would you tackle this project yourself or Hire it out to a pro?
Tools For the Job
- Paint suitable for aluminum (e.g., acrylic latex, oil-based enamel)
- Primer for metal surfaces
- Painter’s tape and drop cloths
- Sandpaper (fine-grit, 220+)
- Degreaser or aluminum cleaner
- Paintbrushes, rollers, or paint sprayer
- Protective gear (gloves, goggles, mask)
First: Prep Prep and More Prep
- Clean the Surface (See Previous post on cleaning the entire patio area)
- Removing dirt, grime, and oxidation using a degreaser or mild detergent.
- Rinsing thoroughly and allowing it to dry completely.
- Sand the Aluminum
- Lightly sand the patio aluminum to create a rough texture for better paint adhesion.
- Wipe down the surface with a damp cloth to remove dust.
- Tape and Cover your Surroundings
- Protect the nearby surfaces such as floors, patio screen, with painter’s tape and drop cloths.

Prime the Aluminum patio enclosure
- Choose the right primer for aluminum surfaces. A boat primer will also work!
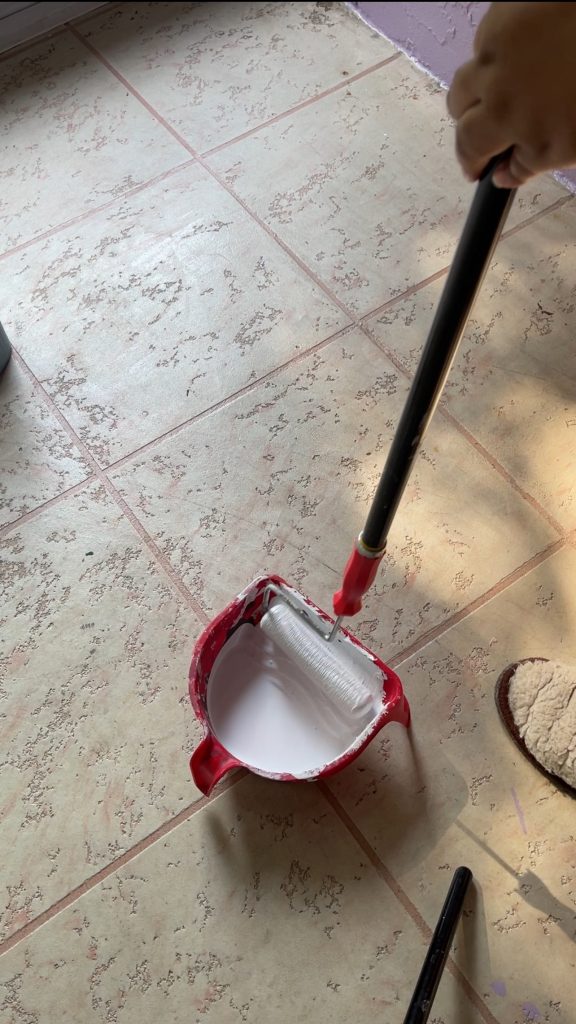
- Apply an even coat of primer to enhance paint adhesion. It’s best to use a roller, but you can also spray or use the spray paint version, if available.
- Allow enough drying time as per manufacturer instructions. If it says 4hours, wait 4 hours. You don’t want to mess up all your work because you were impatient!
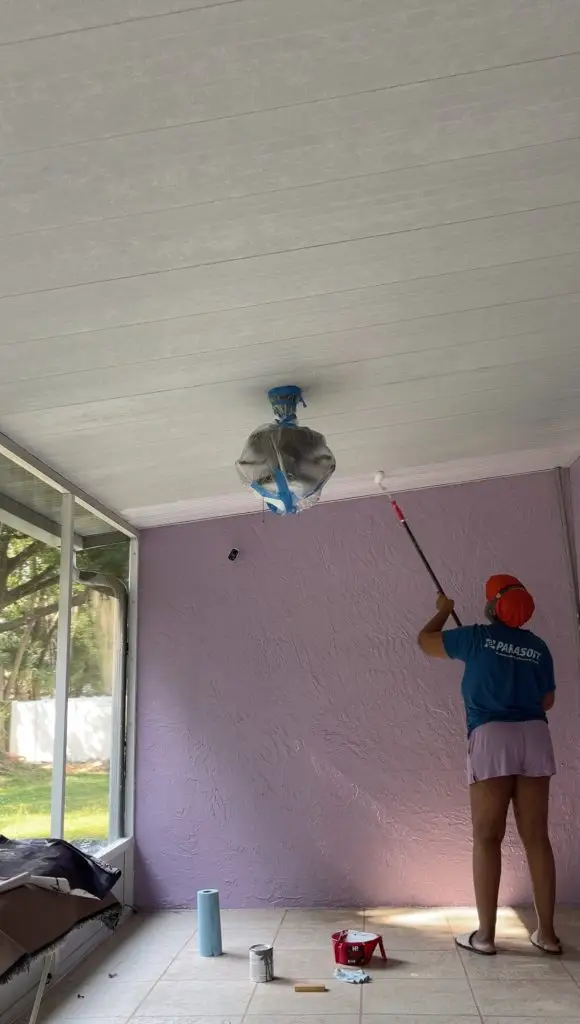
It’s best to start with the ceiling, that way any paint drips can fall on the walls or floor (hopefully covered in drop cloths). Then move to the sides, if your patio is screened in like mine you can use a small roller 2in or 4in to roll the paint. I am re-screening the patio so I opted for a couple spray paint cans of the aluminum primer and sprayed the sides. This made application easier, but not everyone can do it this way.
The Painting Process
- a. Choose the Right Paint Application
- Brush and roller for small areas.
- Spray gun for a smooth and even finish or spray paint if it is sold
- b. Applying Your First Coat
- Use thin, even layers to prevent drips and uneven coverage.
- When using a roller roll into paint then away removing excess paint.
- Allow sufficient dry time between coats. Usually 2+ hrs, read the re-application time in your paint can
- Overlap as you paint rows to ensure total coverage
- Use thin, even layers to prevent drips and uneven coverage.
- c. Add Additional Coats (2 minimum)
- Apply at least 2-3 coats for durability and accurate color.
- Get uniform coverage by overlapping your coats as you go

Maintenance: Tips for a Long-Lasting Finish
- Clean the area regularly to prevent dirt buildup. Especially after rainstorms
- Touch-up chips and scratches with paint. Its a good idea to have a mini bottle of touch up paint for quick use.
- Avoid harsh chemicals that can damage the finish. Soap and water can be used for most cleaning
- If you are in an area with lots of moisture, a mold cleaner might be needed
Conclusion
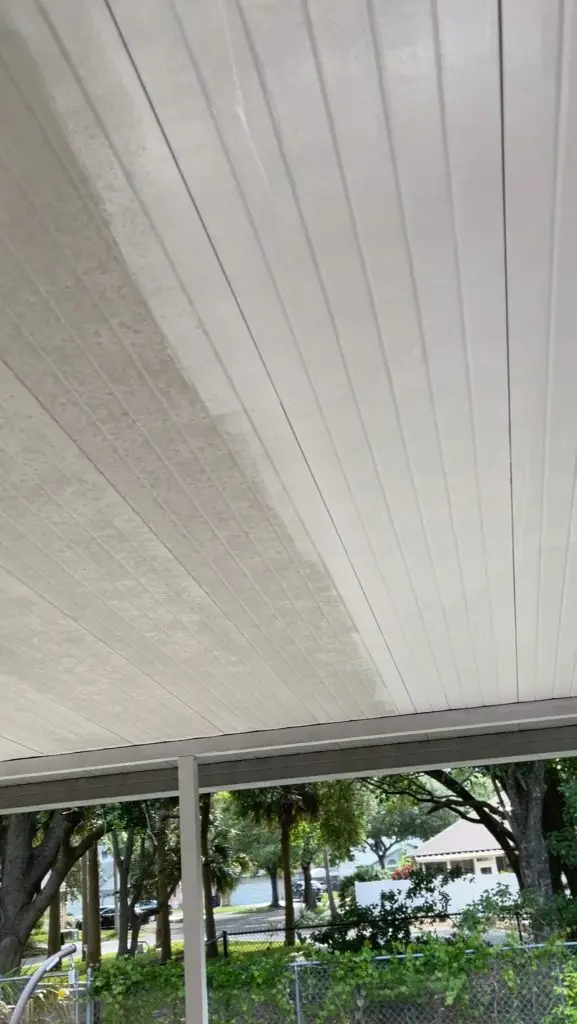
Painting an aluminum screen patio doesn’t have to be hard, but you do have to make sure you prep really well. This is an easily doable DIY and you too can tackle this project with confidence.
Would you tackle this project yourself or Hire it out to a pro?
Spring ORC 2024 Patio Refresh Posts: Week 1 | Week 2 | Week 3 | Week 4 | Week 5 | Week 6 | Week 7 | Week 8: Reveal
Spring ORC 2024 Patio Refresh Posts: Week 1 | Week 2 | Week 3 | Week 4 | Week 5 | Week 6 | Week 7 | Week 8: Reveal