Building a custom drawer: Recycling Bin
One Room Challenge Week 2
Welcome to Week 2 of the One Room Challenge (ORC)! If you missed week one you can go back to read it here!
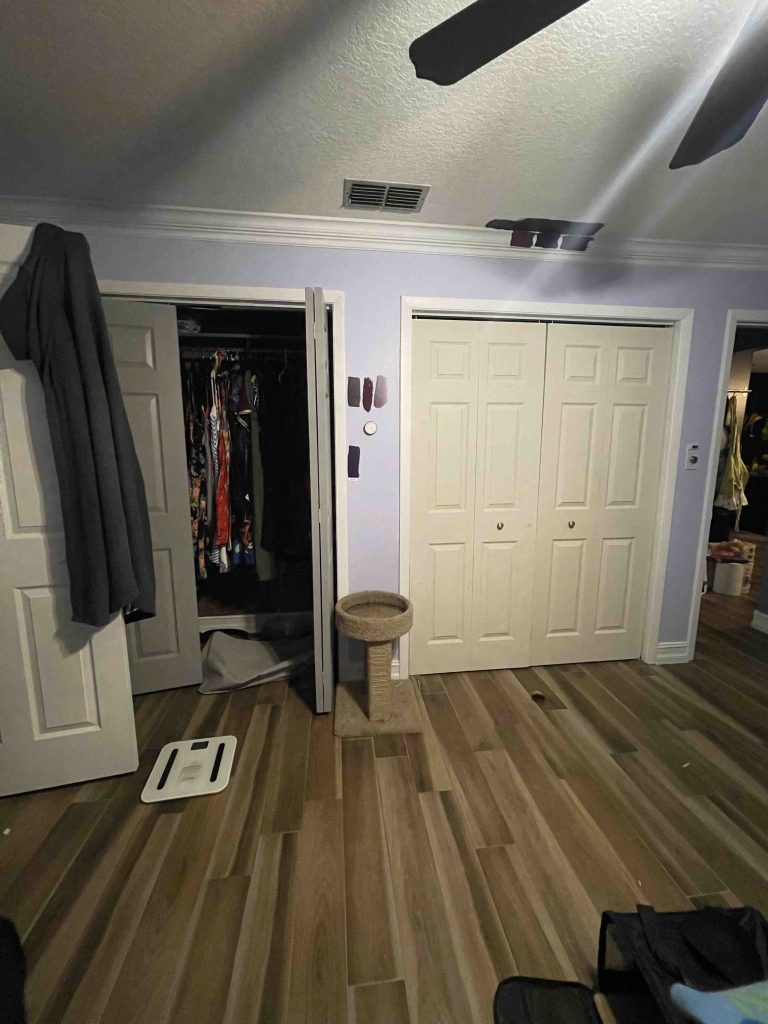
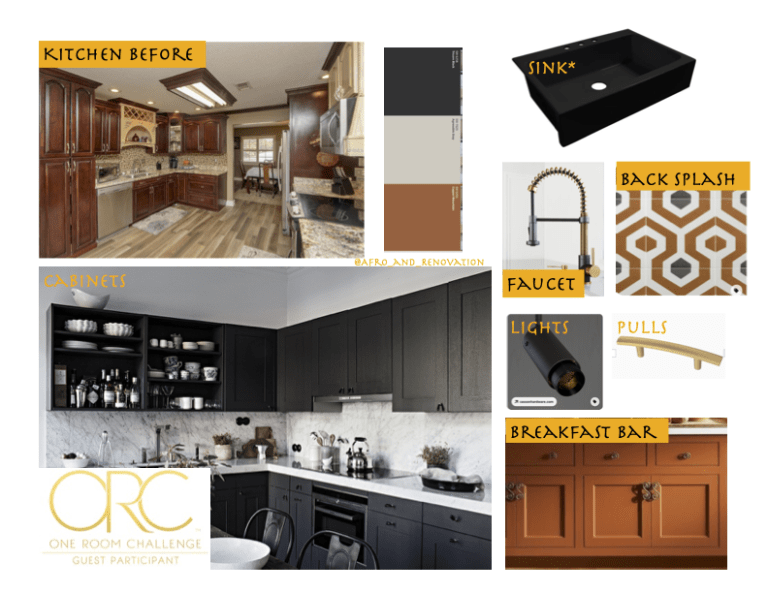
In my quest to customize my kitchen on a budget, this week I tackled making a custom drawer insert for my recycling bin. Not a very sexy project but a necessary one to make it easier for my to separate recyclables. This project obviously also works for a garbage bin also or if you want to have small bins you can opt to use smaller bins that can work for both trash and recycling. The beauty of making your own drawer is that it can be 🎶 whatever you like 🎶! The above image was my inspiration. The best way to see whats available for custom kitchen cabinets is to go to a kitchen showroom! up

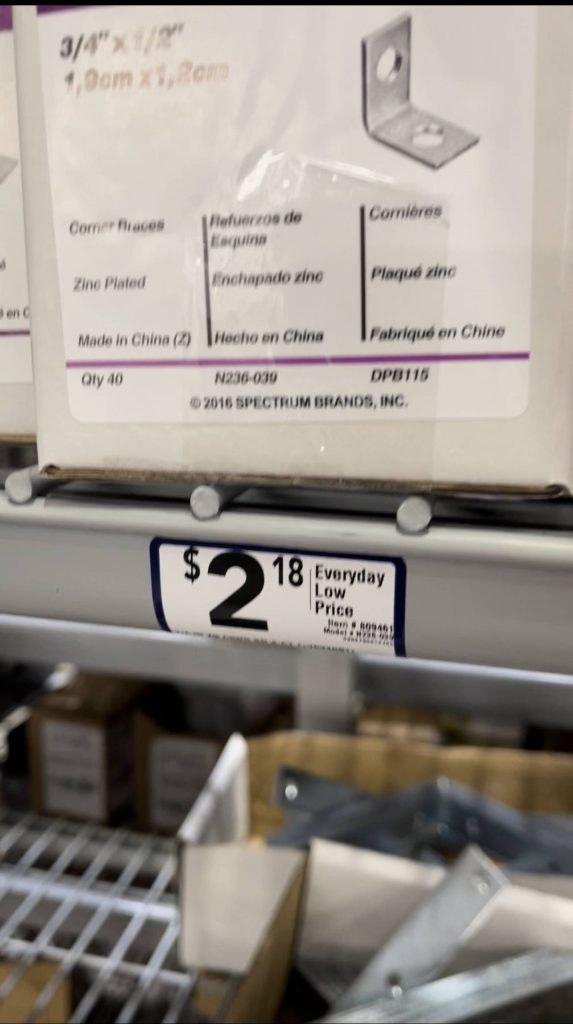
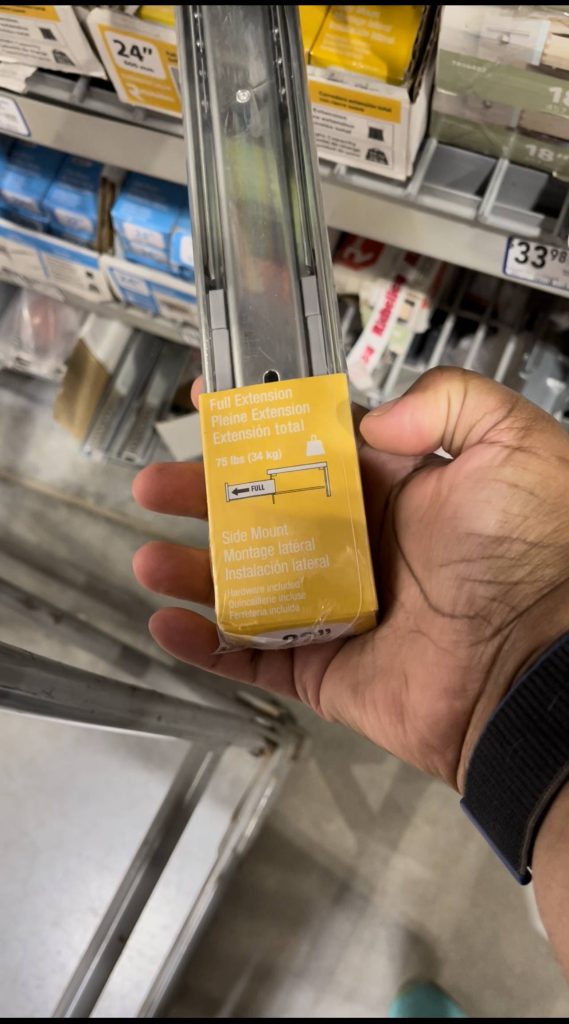
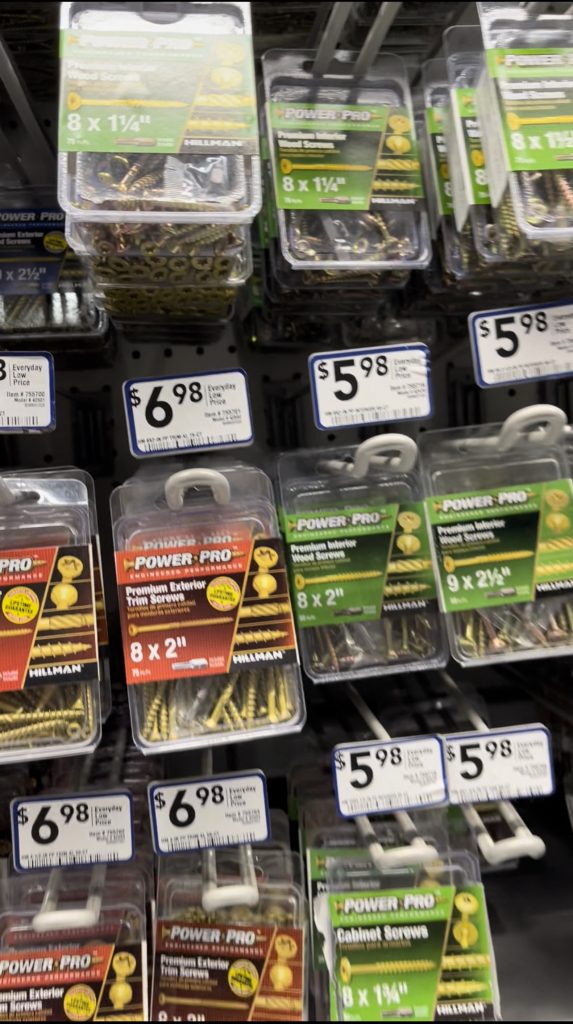
Take all the pictures you need, open every drawer every door. Figure out what you like, what you don’t like and why. This way when it’s time to recreate it you have a better understanding of what you want. For this bin drawer I wanted it to be simple and would fit a bin on my choosing. That’s it! I’ve seen the fancy ones you can buy by rev-a-shelf, honestly their 13.5 in insert would have 100% worked in this space….the price ($100+) was not what I wanted to pay. I made my build with scrap wood, all I had to buy was the screws ($5.98), drawer slides (22.99), and the corner brackets ($2.18).


Materials Needed
- 2×4 Plywood
- Corner Bracket pack of 4
- 1 1/4in screws
- Recycling Bin
- Wood Glue
- Drawer slides (22in)
Tools Needed
- Circular saw or table saw
- Jigsaw
- Drill
- Wood Drill Bits
- Sander/sand paper
If unlike me, you don’t have a lot of wood lying around…browsing through Lowe’s the total materials for this project were under $75)
The Inspo

You can Shop all the supplies in my Lowes Storefront!!
Plywood ($17.51), Corner bracket ($2.18), 1 1/14in screws (50pack) (5.98), Drawer Slides ($22.99) Recycling Bin ($19.99)

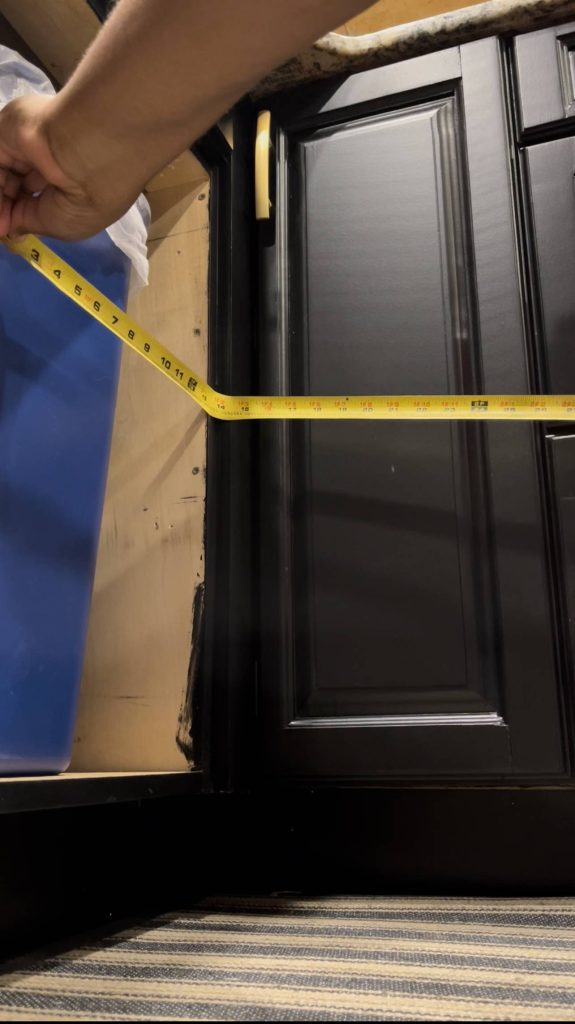
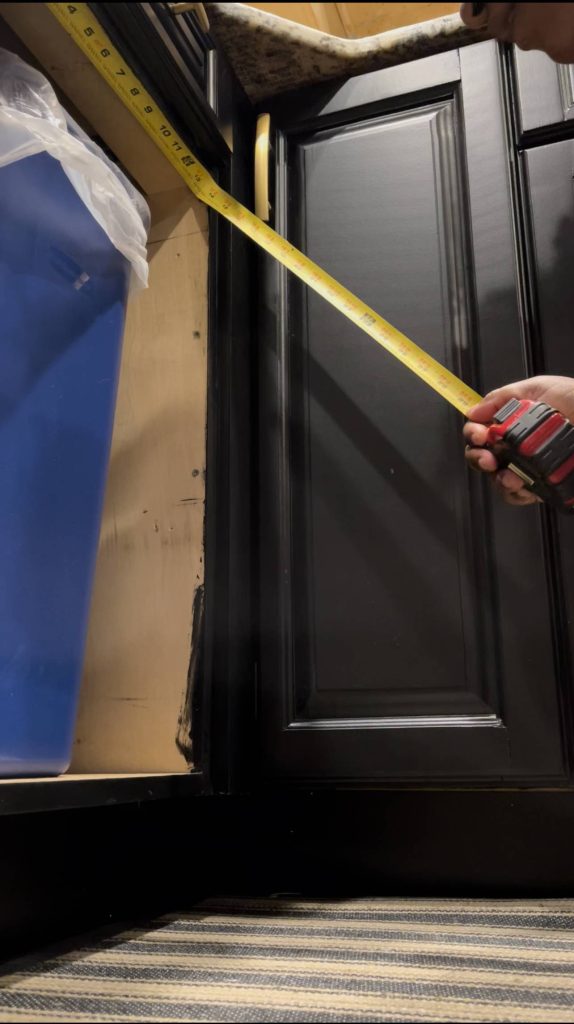
Step 1: Measure Measure Measure!
First and foremost we want to measure our cabinet space. Make sure to measure both the front and the back as well ad different points vertically in the cabinet. For example, my cabinet at the top and middle measured 13 1/2in while the bottom measured 13 3/8in. If you are going to make a drawer that fills the entire space this difference matters!
Once you have your measurements…you will write them down…then measure again to make sure they’re correct. When you cut your wood you cant undo it and this is why we “measure twice, and cut once”. Next you we transfer your measurements to your plywood. It at this point that you want to go back and verify the measurements that you transferred and make sure you did it correctly. Side note: I have on several occasions incorrectly transferred my measurements and wasted a whole piece of wood because it was too short. Learn from my mistakes!

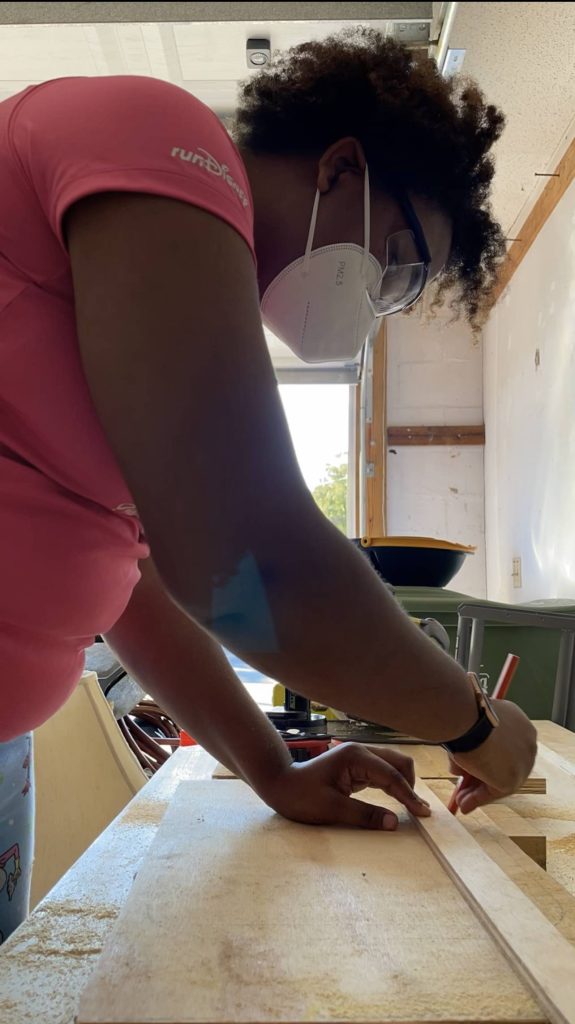
Step 2: Cut your pieces
Cut List:
- Main drawer with cut out
- Width = width of cabinet – width of drawer slides
- Depth = length of cabinet – thickness of brace (3/4in)
- Brace to attach to drawer
- I used the middle cutout which was the perfect size
- Width = Width of drawer cutout
- Height 6in
- 2 1.5in Side pieces to attach drawer slides
- These are the size of a 1×2 (3/4 x 1.5 nominal)

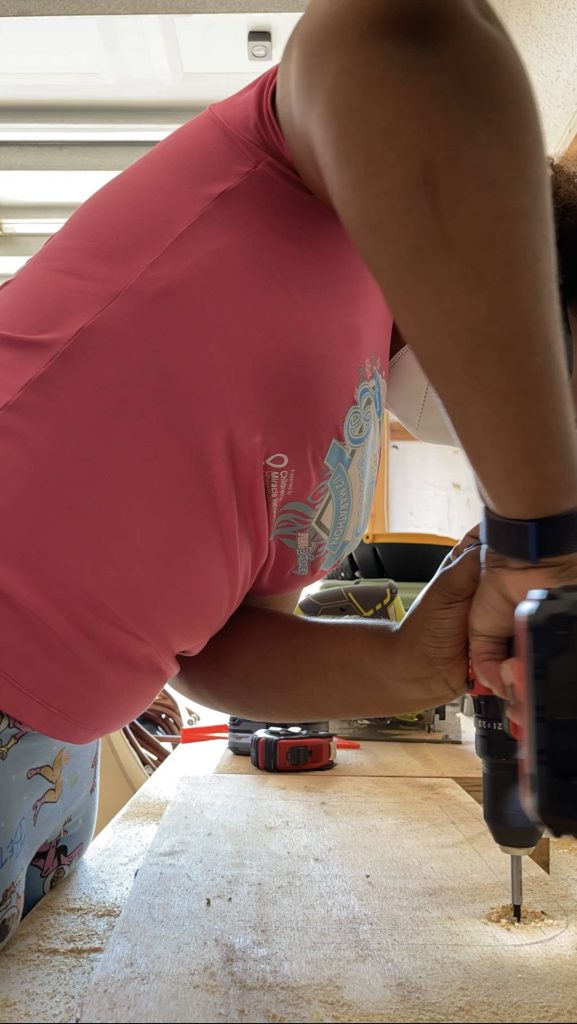
Using your saw (circular or table) make your cuts for the main drawer and the side pieces
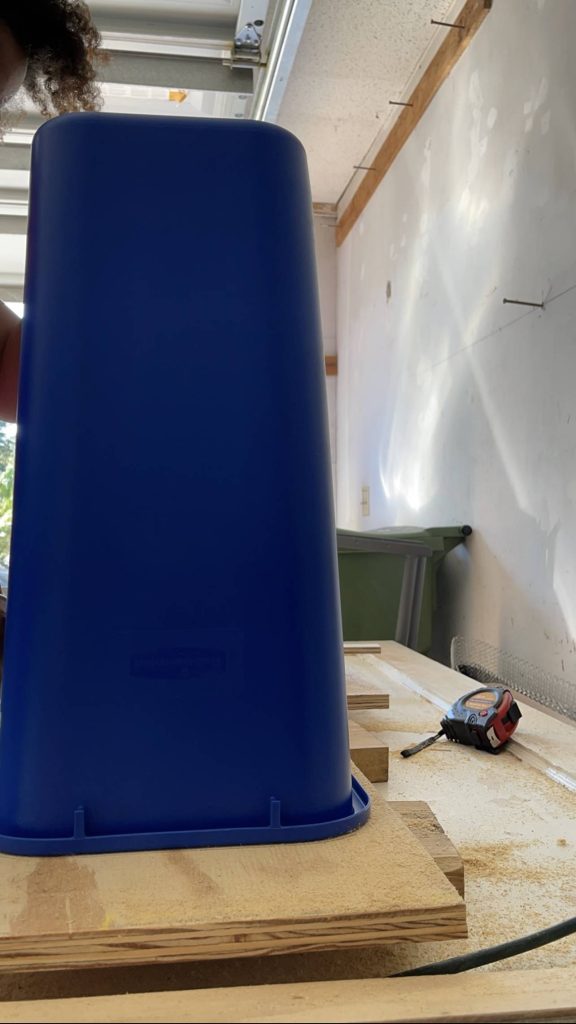
I wanted the recycling bin to fall in the middle of the drawer so I traced the top of the bin and made marks about 1in inside of the trace. Using my drill and drill bit I drilled a hole in each corner large enough to fit the jigsaw blade. Then I used the jigsaw to make my cutouts. The cutout in my case was the exact width of the drawer so I used that as the brace attaching the drawer to the cabinet door. If you’re not as lucky as I am then you will need to cut a piece that is the width of your drawer and about 6in height.

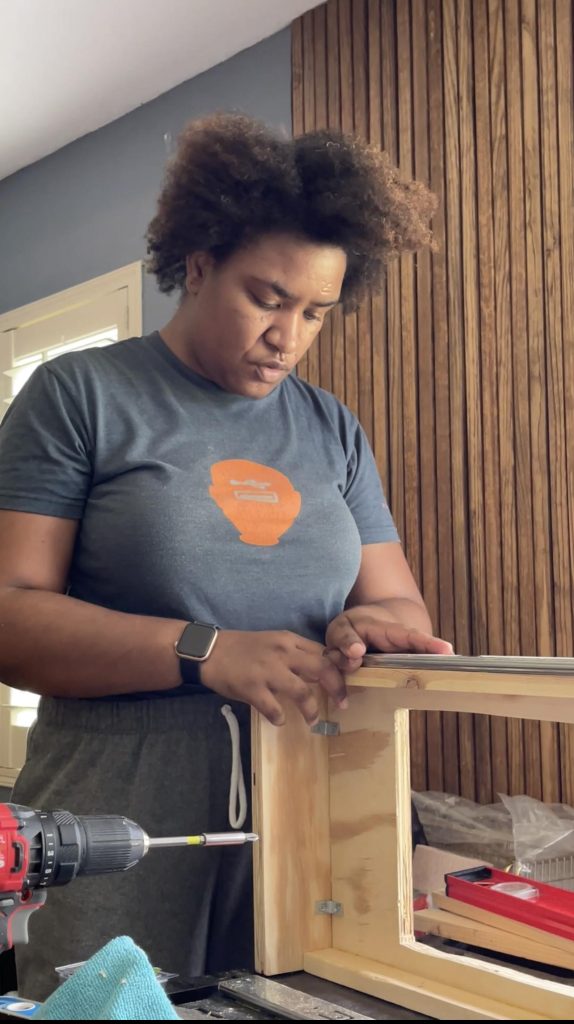
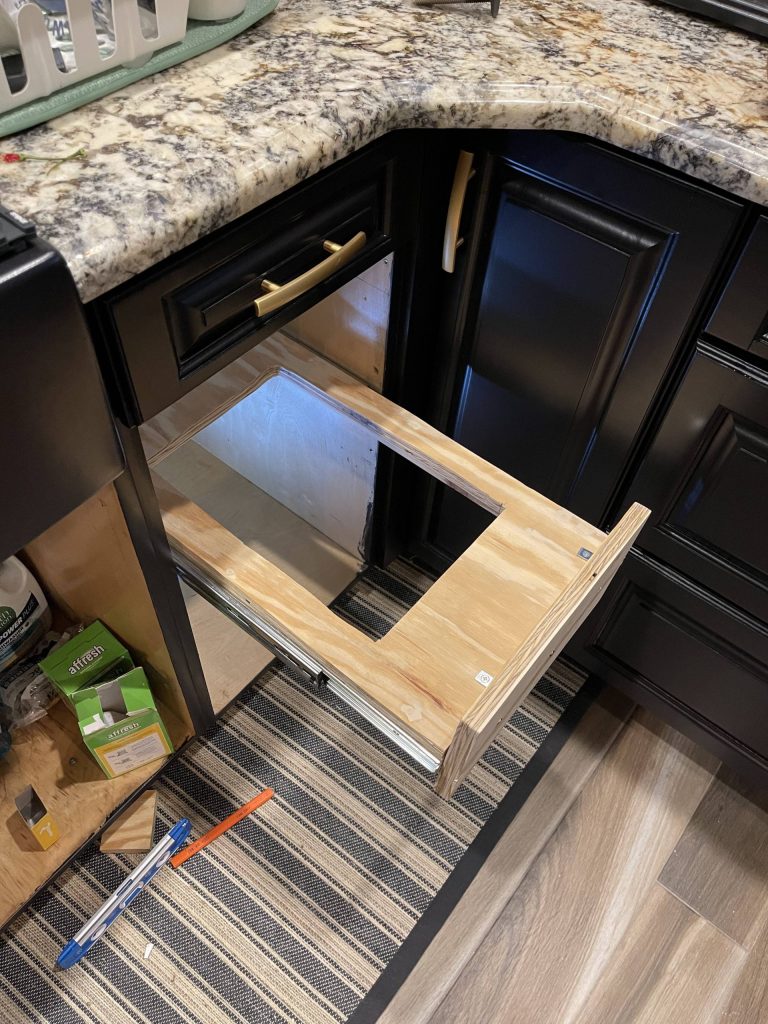
Step 3: Put Everything together
Easier said than done as there are multiple steps to this part of the process. Before we attach everything, we want to dry fit the pieces in the base cabinet to make sure we cut everything correctly. That means putting in the main drawer, and the base, making sure it fits with the drawer slides on each side, etc.
Here we are going to attach the 1×2 side pieces to the main drawer. This is so the drawer slides can be attached.

1: Attach side rails to the main drawer
First you want to use a small drill bit to pre-drill pilot holes, this is very important because plywood tends to split. You don’t want to mess up your piece and have a huge chunk come out! Then you want to put wood glue on each piece then drill your screws to attach each piece.
2: Attach brace to main drawer
Next, we are going to attach the main drawer to the middle of the brace. I predrilled three holes in the center through both the brace and the main drawer, then screwed in some screws. This seemed secure but I wan to make sure the weight of the cabinet door and the bin don’t pull it down.

Add Brackets
Nevertheless, this is where the corner brackets come in, attach the corner brackets to the brace, then to the main drawer piece.
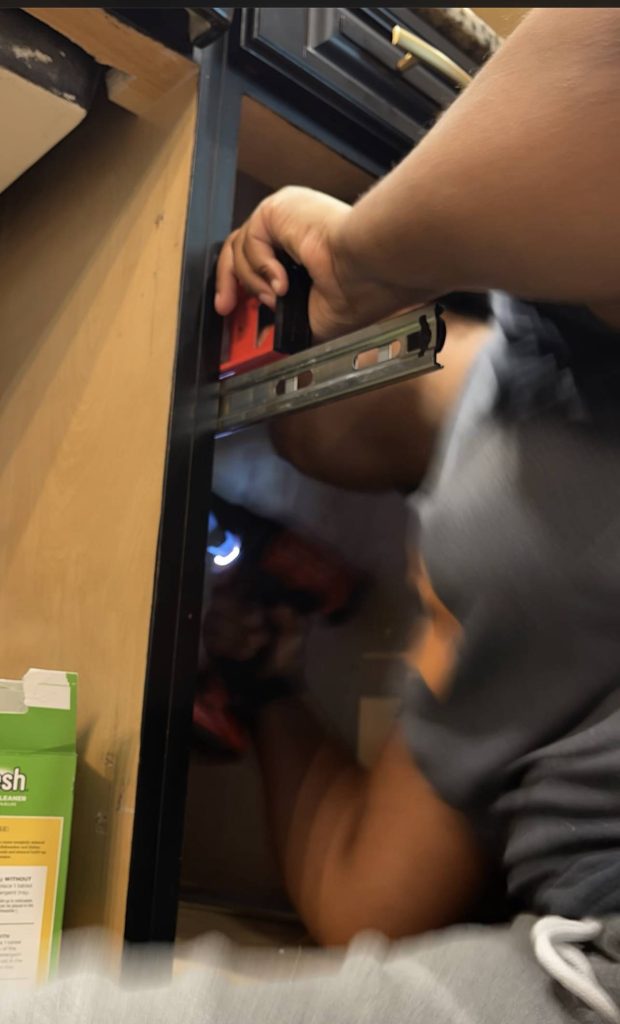
3: Attach drawer slide
Next, we want to attach the drawer slides to the side. Make sure you read the instructions for your drawer slides first, as different brands have varying instructions. I totally messed up in this part and had the inner piece backwards!
The part that goes in the drawer is the inner portion. You have to slide it our and push on the black piece to release it.
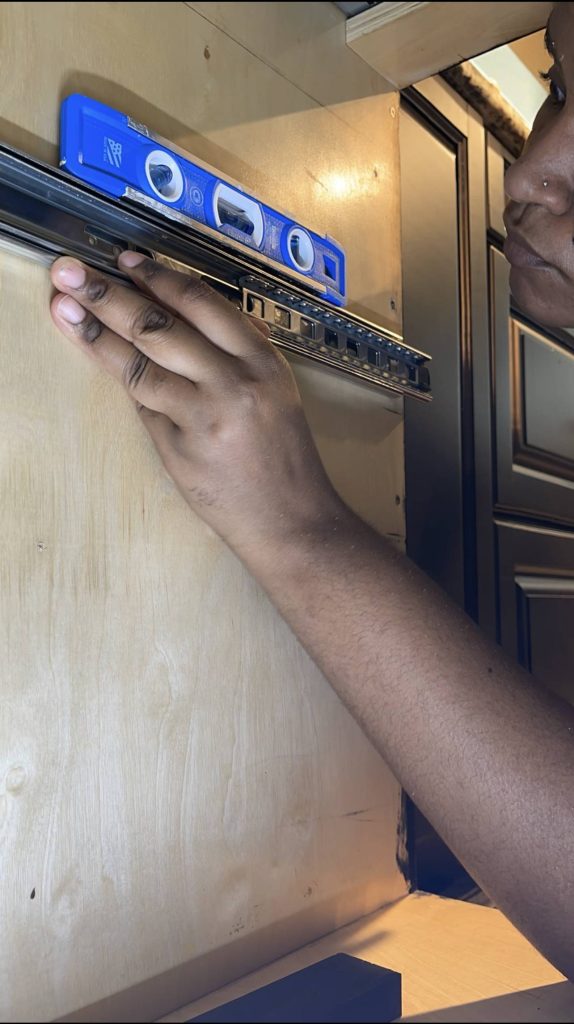
Step 4: Install main drawer rail to cabinet base
These will be installed based on the instructions for your drawer. Nevertheless, the most important part is to make sure the rails are level and are perfectly parallel and level to each other. Consequently, I used my level across on each rail to make sure both the front and back were level, in such a tight space it was not easy.
4: Attach Cabinet Door
In this step you will want to measure the distance from the top of the cabinet to your cabinet door, and where your drawer will go. However, this is a pretty finicky part of this process. I ended up having to wait until the last step to do this do the drawer could be in place and I could figure out the correct placement. Nevertheless, using my measuring tape and my pencil I was able to figure out the correct placement.
In addition, this is the perfect time to also install your drawer pull
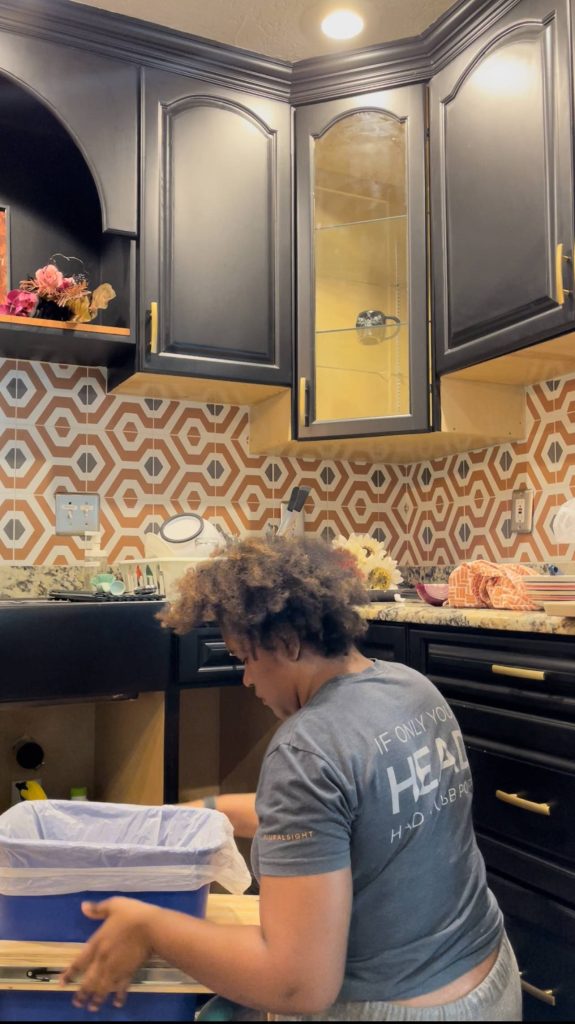
Step 5: Slide it all in
Now that everything has been assembled, let put it all in the base cabinet. You will want to make sure of the following:
- Drawer slides in properly
- Drawer is level
- Everything is secure

Lowes Storefront

Latest On the Blog
-
Kitchen Glow-Up for Every Budget: From Broke to Big money!
Are you a broke-y, balling on a budget or Big Money? Your Kitchen budget will help you decide where and when to tackle a Kitchen Renovation.
-
How to change you car cabin and engine air filter
In a Honda Fit, I’ll show you how to change your air filter and some tips I’ve learned along the way. It’s a good practice to check them at least once a year.
-
DIY · Garden · Tips and Tricks
Grow pineapple the easy way
The easiest way to grow pineapples is from a pineapple top. You know, the part you take off before cutting into the delicious fruit!


Oldies but goodies On the Blog
-
Boxes are for objects, not people
I am not a stereotype and I don’t fit into the boxes people think a Black woman fits in.
-
One Room Challenge (ORC): Fall edition
Customizing the kitchen one drawer and cabinet at a time as part of the ORC
It’s that time again for another One Room Challenge (ORC). I participated for the first time in the Spring starting phase one of the kitchen renovation. I will do a post later on this month how the spring challenge went. Hint: I finished it this week!
-
One Room Challenge Week 8: Wait What!?
It’s reveal week for the One Room Challenge and I am way behind on blog posts. Sorry but life happened.