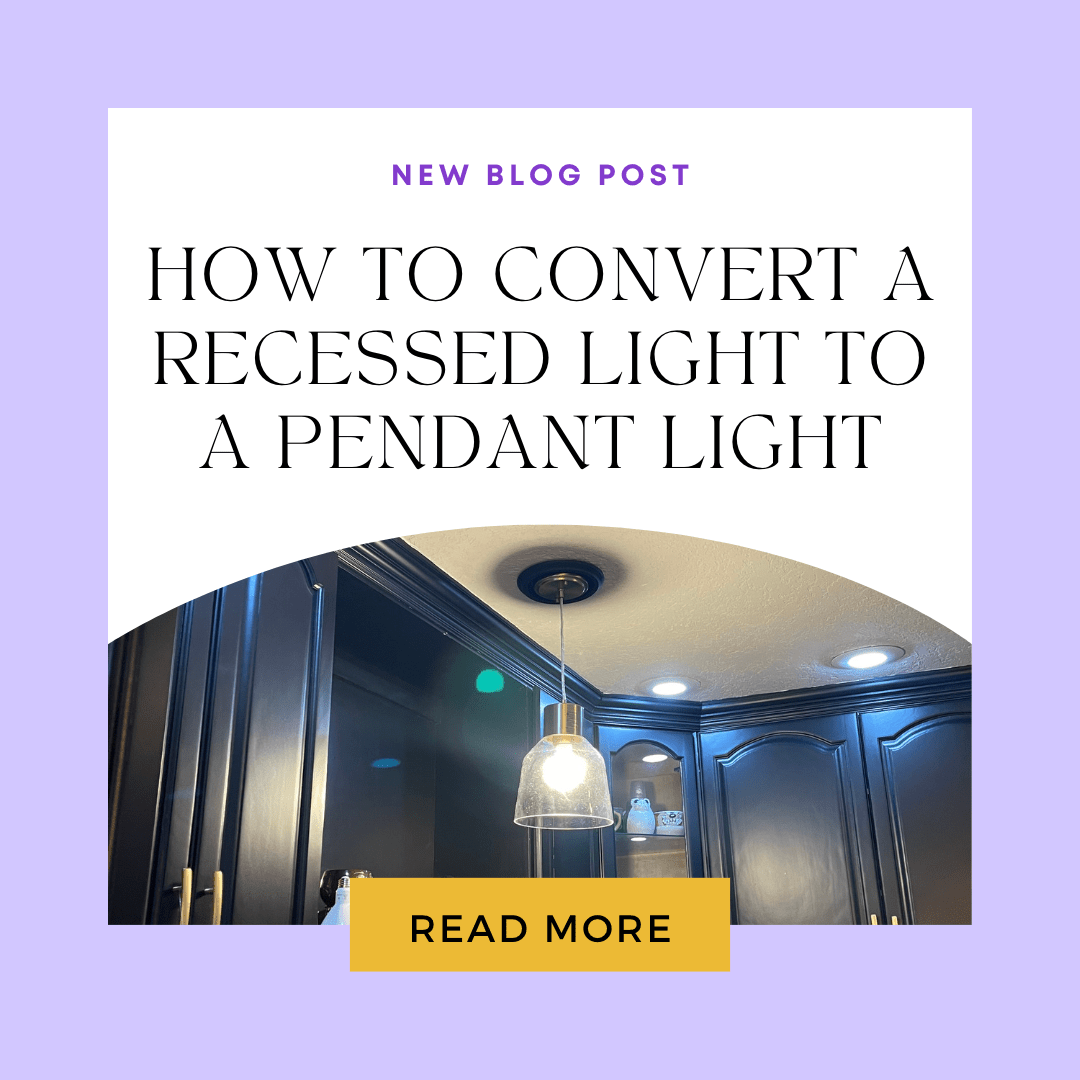
How to Convert a Recessed Light to a Pendant
This can be done with some basic electrical knowledge
It is easier than ever to convert an old recessed light or can light to a pendant light, without having to go through the hassle of removing the original lights! This is ideal if you have old large can lights (they are big boxes in your ceiling that hold the electrical and housing box the lights) and want something that can easily be done in less than a hour!
Remember to turn off your electricity before starting any electrical work.
It’s always safer to turn it off at the breaker…and double checking with a no-contact electrical tester

Materials Needed (Amazon Affiliate Links):
- Recessed Light Conversion kit
- Wire Strippers
- Screwdriver
- Ladder
- Pendant Light
- Non-contact electrical tester (safety first!)
The Kit

Remember: Turn of electricity prior to starting and consult a licensed electrician if you have any questions or doubts
Anatomy of the Kit:
- Metal Plate (holds the pieces together)
- Light bulb converter (converts any pendant light to a lightbulb)
- Brackets and screws
- Cover (makes it look seamless)

Step 1: Remove Light bulb and Cover
1: Remove light bulb and cover from recessed lights
The light bulb cover may be a little tricky to remove. Mine had a spring that I had to twist and push up (toward can) to remove
Step 2: Add light bulb converter and install brackets
Screw In light bulb converter and install brackets.
The light bulb converter screws in just like a light bulb but now you have pigtail wires sticking out allowing you to connect a pendant light. Make sure the power is off because the connected wires will be live!
However, before the light can be securely connected, you need to secure the brackets.
These brackets are what will hold up the weight of the new pendant light!
You want to:
- Secure the sliding bar to the recessed can (large bar)
- Use 2 screws to screw to each side of the sliding bar to the can light sides(one on each side)
- Install the mounting bracket to the sliding bar, with the washer going on the side not in the channel
- Install the green ground wire (with the metal piece sticking out) to the side wall of your recessed light

Step3: Install Cover Plates and mounting bar
Install Metal cover plate and twist so the brackets are holding it in place then we get to the exciting part! Installing your light fixture.
Your light fixture should have come with a mounting bar. This is what you will screw into the metal mounting place and brackets to hold your pendant together.
Step 4: Install pendant light
Here is where you really need to know some electrical basics!
I am not a licensed electrician, please consult one if you do not now the what you are working on.
Before you step on the ladder to start connecting the pieces make sure you know how long you want your pendant to be. In my case it was 18 inches. This is where having a tape measure and wire strippers
For the most part, it’s usually a color match. Black to black, white to white and green to bare copper, ground. In my case all the wires were labeled but the colors were all clear. Meaning if any of the labels fell out while you were moving things around you may have issues!
This is eaxctly what happened to me, the labels for the ground and the live fell out. I made a guess and was wrong. Luckity it was a simple fix to switch the two wires around.
In the end it looks wonderful

Is this a DIY you would attempt? This project is a quick and easy way to dip your toe into doing some small electrical work. It is very DIY friendly, it’s simple enough where you mostly have to match the wire colors and quick enough where hopefully you aren’t discouraged. The best part is at the end you get to have a new unique light in your space!
Latest On the Blog
-
Kitchen Glow-Up for Every Budget: From Broke to Big money!
Are you a broke-y, balling on a budget or Big Money? Your Kitchen budget will help you decide where and when to tackle a Kitchen Renovation.
-
How to change you car cabin and engine air filter
In a Honda Fit, I’ll show you how to change your air filter and some tips I’ve learned along the way. It’s a good practice to check them at least once a year.
-
DIY · Garden · Tips and Tricks
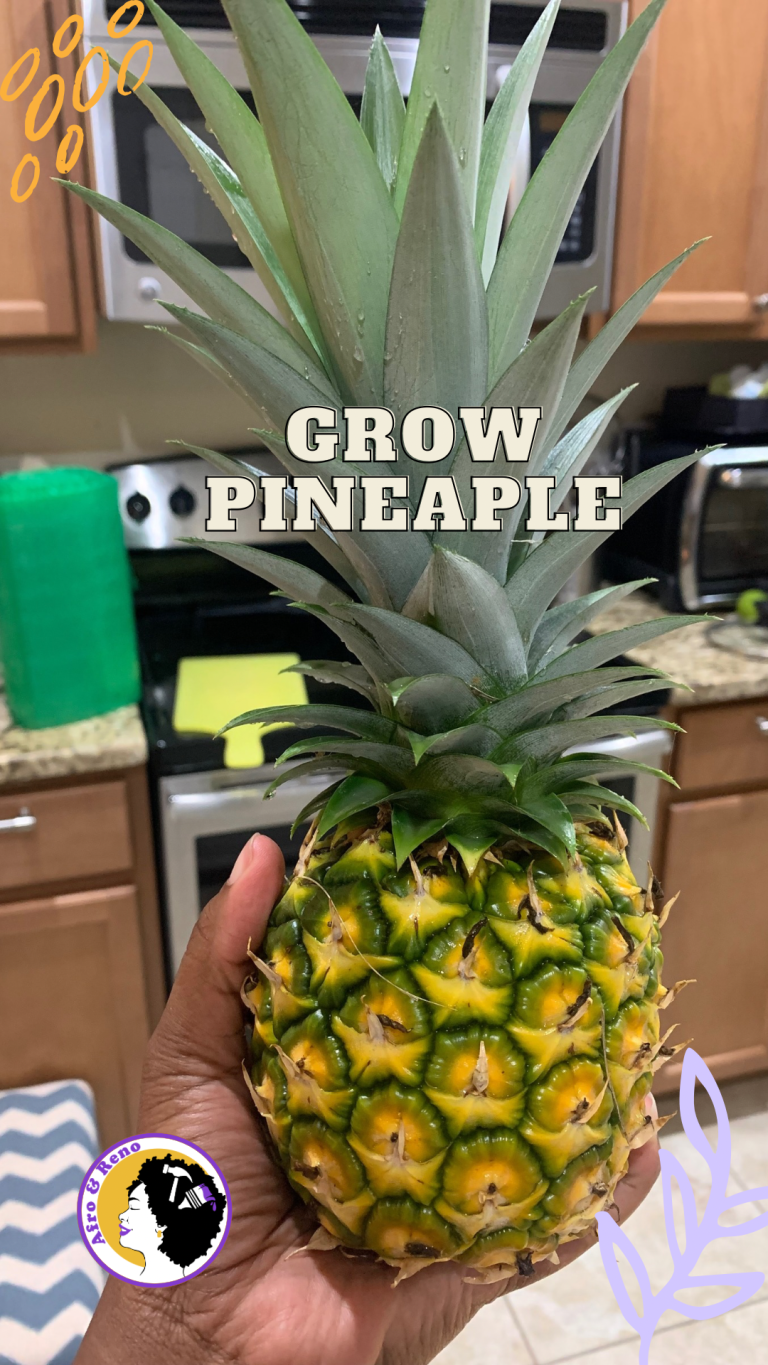
Grow pineapple the easy way
The easiest way to grow pineapples is from a pineapple top. You know, the part you take off before cutting into the delicious fruit!

Oldies but goodies On the Blog
-
Boxes are for objects, not people
I am not a stereotype and I don’t fit into the boxes people think a Black woman fits in.
-
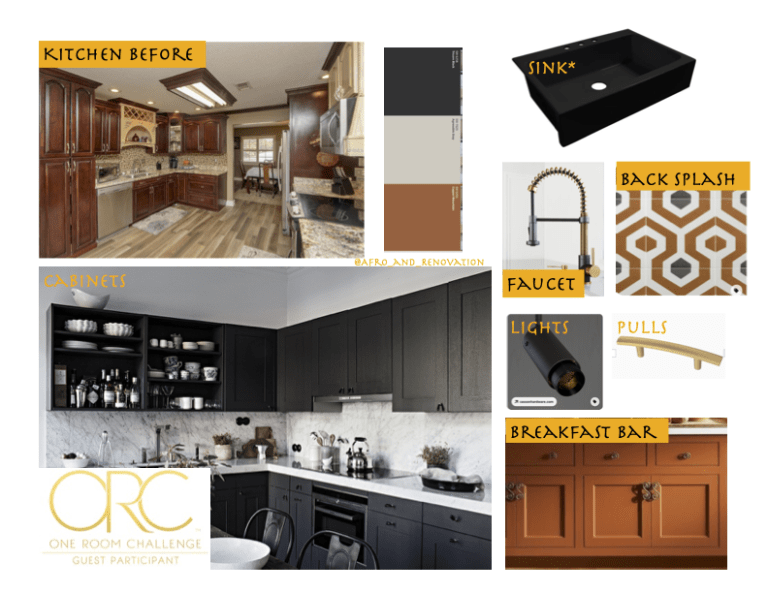
One Room Challenge (ORC): Fall edition
Customizing the kitchen one drawer and cabinet at a time as part of the ORC
It’s that time again for another One Room Challenge (ORC). I participated for the first time in the Spring starting phase one of the kitchen renovation. I will do a post later on this month how the spring challenge went. Hint: I finished it this week!
-
DIY | Home Improvement | Kitchen | ORC | Woodworking
Building a custom drawer: Recycling Bin
Customize your kitchen on a budget. This week we tackle building a custom drawer for a recycling bin. Works with a trashcan or easily modified for both!