How to Build Custom Utensil Drawer Inserts
Easy DIY utensil organizer drawer inserts using wood
Custom drawer inserts from a big box store kitchen showroom are expensive yet you can DIY it yourself using wood in those stores! Don’t even bother with the pre-made plastic flatware trays never quite fit your drawers correctly. Instead you can make your own custom wood organizer inserts for a fraction of the cost!! A simple way to organize your kitchen drawers for a perfect fit!

Tools and Materials List
- Wood
- Brad nailer
- Wood glue
- Miter saw or hand saw
- Square
- Tape measure
- Pencil
- Sandpaper
- Clamps (optional)
- Ruler or straight edge
- Finish (optional: stain, paint, or sealant)
In this guide, I’ll walk you through a simple step-by-step process to build your own utensil organizer using basic tools and materials.
1: Measure Your Drawer
You want to remove the drawer and measure the inside width, length, and height. Decide how many sections you need—do you want spots for silverware, larger cooking utensils, your garlic press or other specialty tools?
Plan your layout: You can do this by sketching the layout so you know where each divider will go using paper/pencil, you can use painters tape inside your drawer to mock it up. Pro-Tip: Use your actual silverware or utensils to lay out in the drawer to figure out size and spacing!
2: Cut Your Dividers
Using your miter saw or handsaw, cut your pieces to the measured sizes. My drawers are not very deep so I used craft wood from the home improvement store to fist. If you have deeper drawers you can use plywood. Use your square to make sure you are getting straight lines.
3: Sand and Finish the Cut Pieces
Using 22grit sandpaper sand your wood smooth, making sure to sand the edges and removing splinters. To finish your inserts you can use a clear coat or stain and clear coat. In my case I simply used a clear coat as the insert color matched the inside color of the drawers. You want to do this step prior too assembly so you don’t have weir corners or pooling of your station/ finish. Let everything dry the recommended amount of time before assembling.
4: Assemble the Insert
Arrange your dividers according to the layout you created. Using wood glue and pin nailer attach the inserts to each other and use claps to hold its together while it dries. If you have multiple pieces htis may take a little while but it will be worth it at the end.
5: Put the Insert into the Drawer
Once. your glue is dry, add your insert into your drawer. Hopefully you measured correctly and it fits snugly. If it’s too bug you may have to cut to adjust. Now for the fun part…Test it out by putting your utensils in!
6: Organize and Enjoy!
Thats basically it! Now that your custom drawer insert is done, it’s time to put it to use! Arrange your silverware, larger cooking utensils, your garlic press or other specialty tools in their new custom spots. Enjoy your new clutter-free, perfectly organized kitchen drawer!
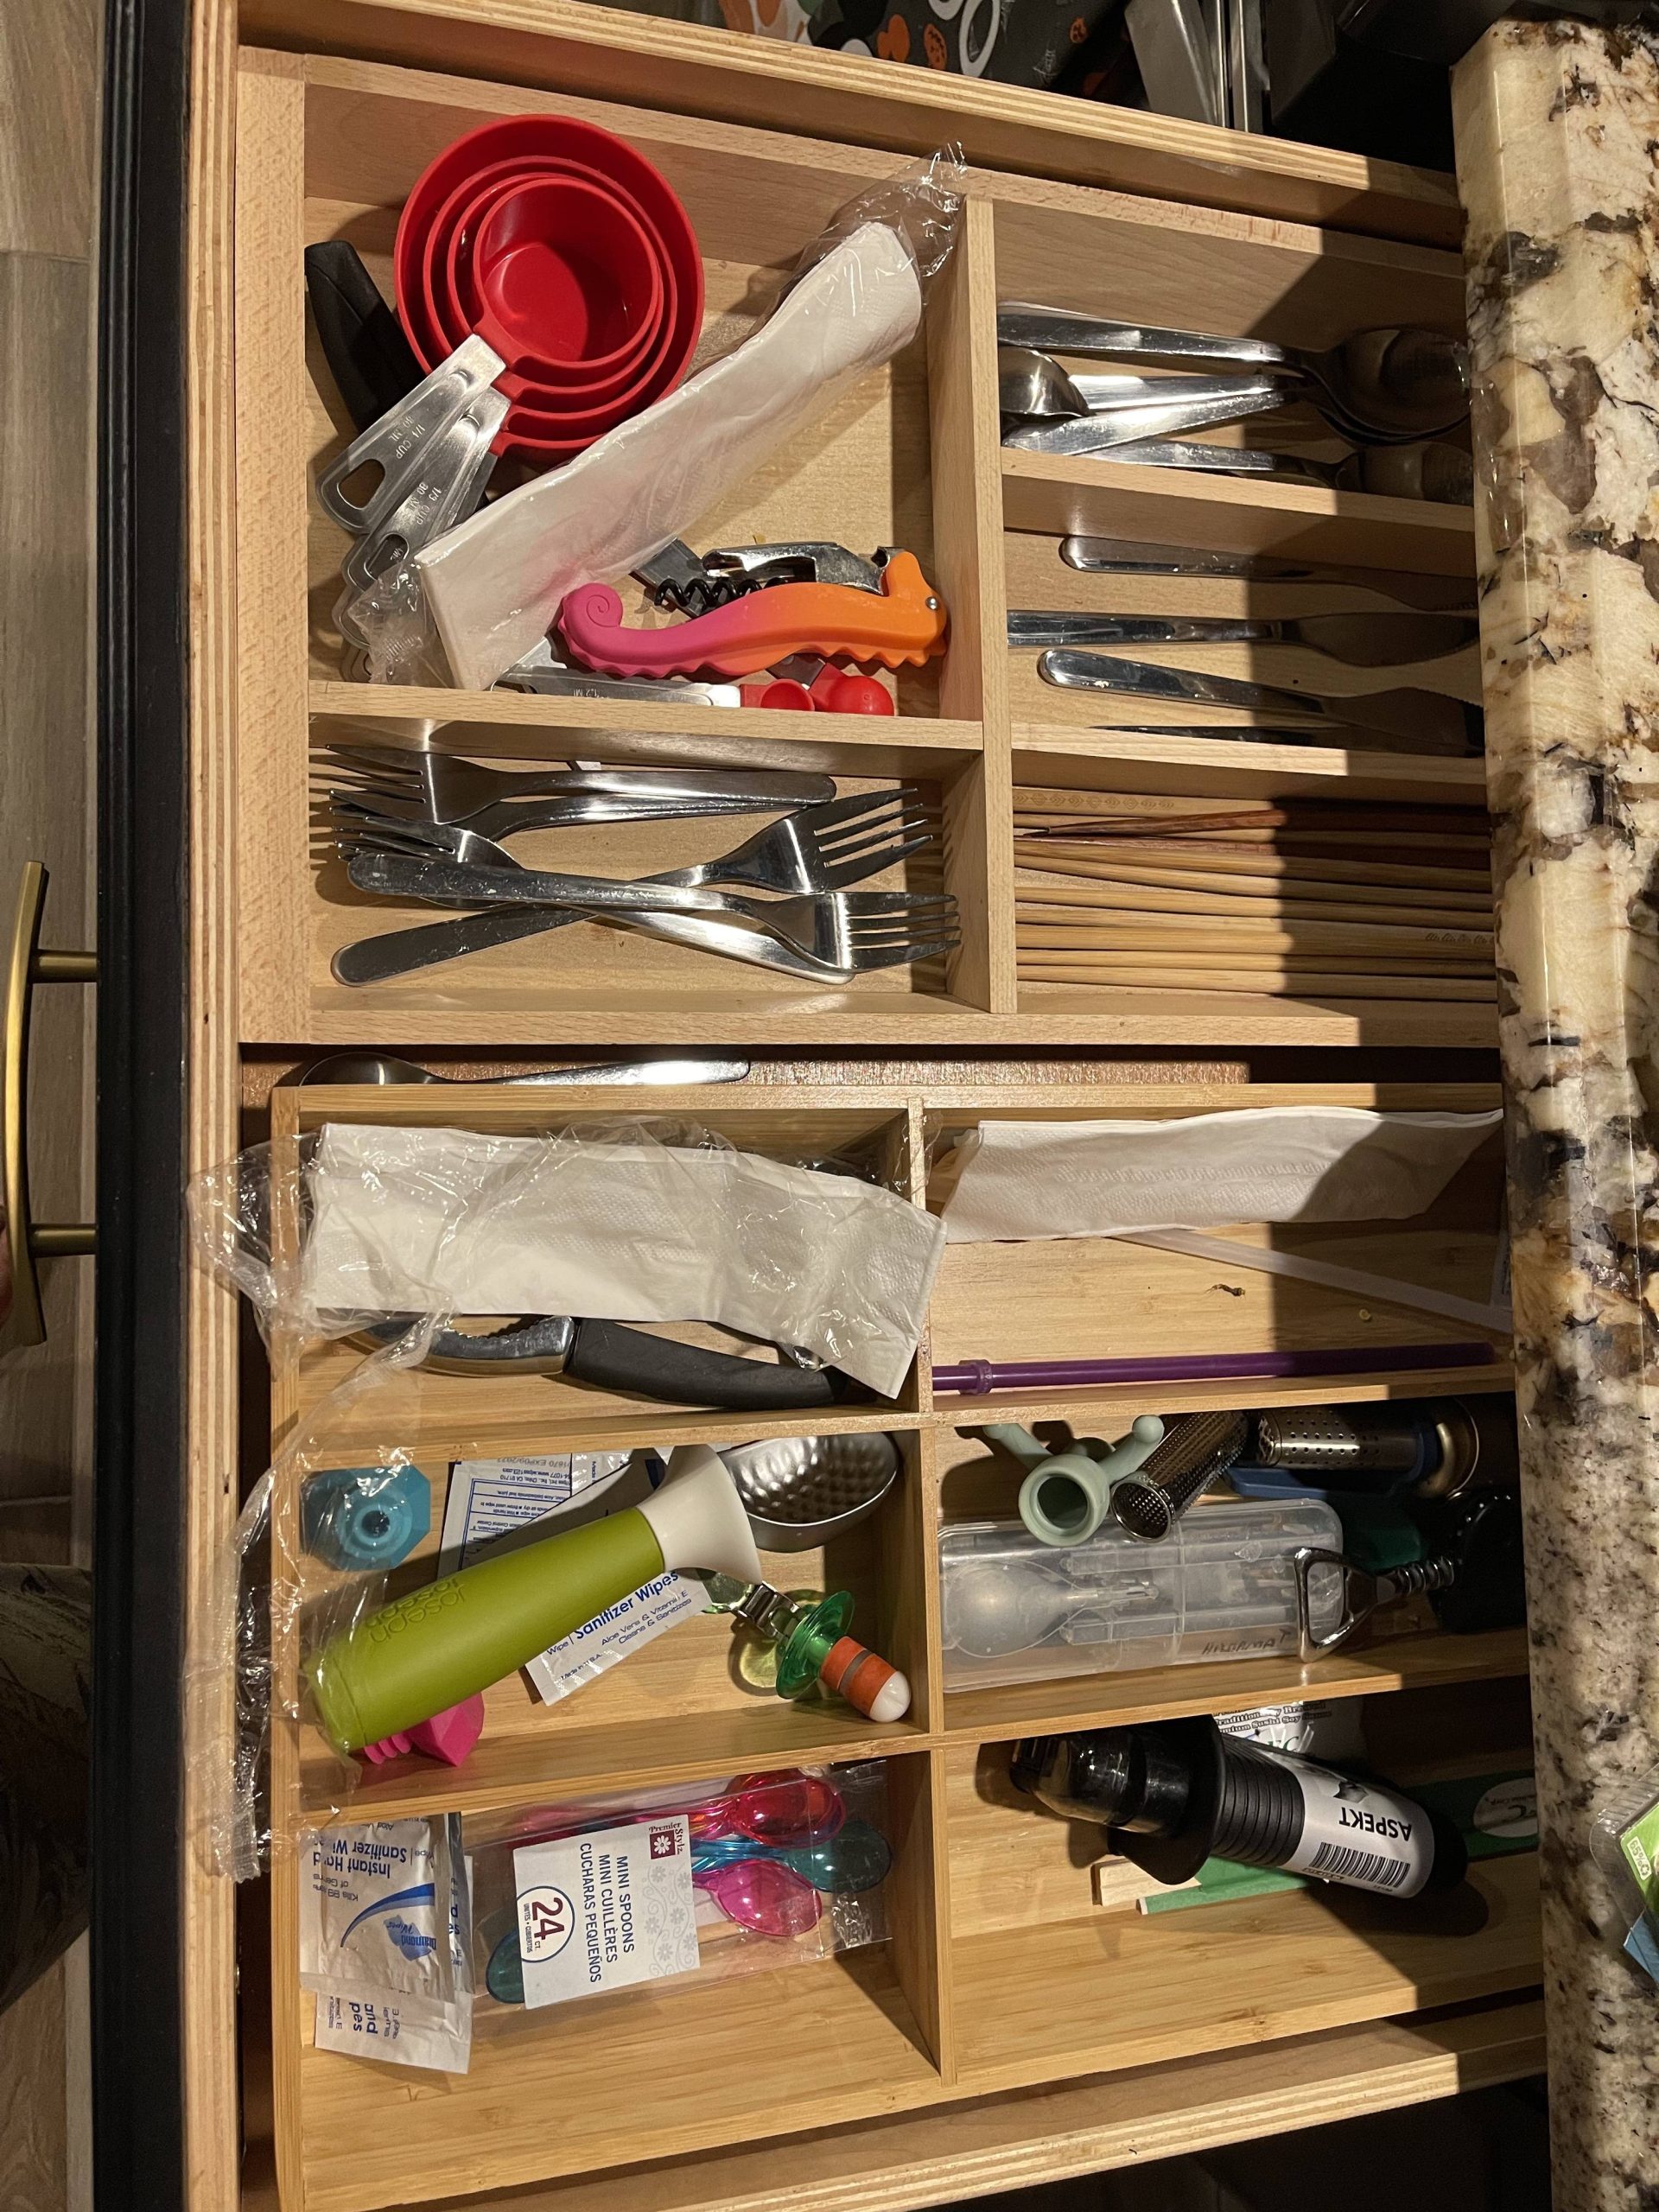
The Final product!

Bonus Customizations
- Adjustable dividers – Use thiner tracks made with wood to create dividers that can slide in and adjust.
- Lining – Add a lining inside the drawer bottom to prevent things from shifting and for extra protection. In my drawers I use contact paper, but you can use felt too.
- Labels – You can label sections for easy organization and to let others know the proper place for utensils
- Custom Knife slots – You can use 2×2 block and use kerf cuts to cut slots for you knives to fit into. This elevates the look!
Final Thoughts
This DIY utensil insert is a simple and rewarding project that makes a big impact in your kitchen. Not only do you end up with functional organizer to jeep everything neat and organized, but it also eliminates the frustration of digging through a messy pile of utensils (gross).
Give it a try, and let us know how yours turns out!
Latest On the Blog
-
Kitchen Glow-Up for Every Budget: From Broke to Big money!
Are you a broke-y, balling on a budget or Big Money? Your Kitchen budget will help you decide where and when to tackle a Kitchen Renovation.
-
How to change you car cabin and engine air filter
In a Honda Fit, I’ll show you how to change your air filter and some tips I’ve learned along the way. It’s a good practice to check them at least once a year.
-
DIY · Garden · Tips and Tricks
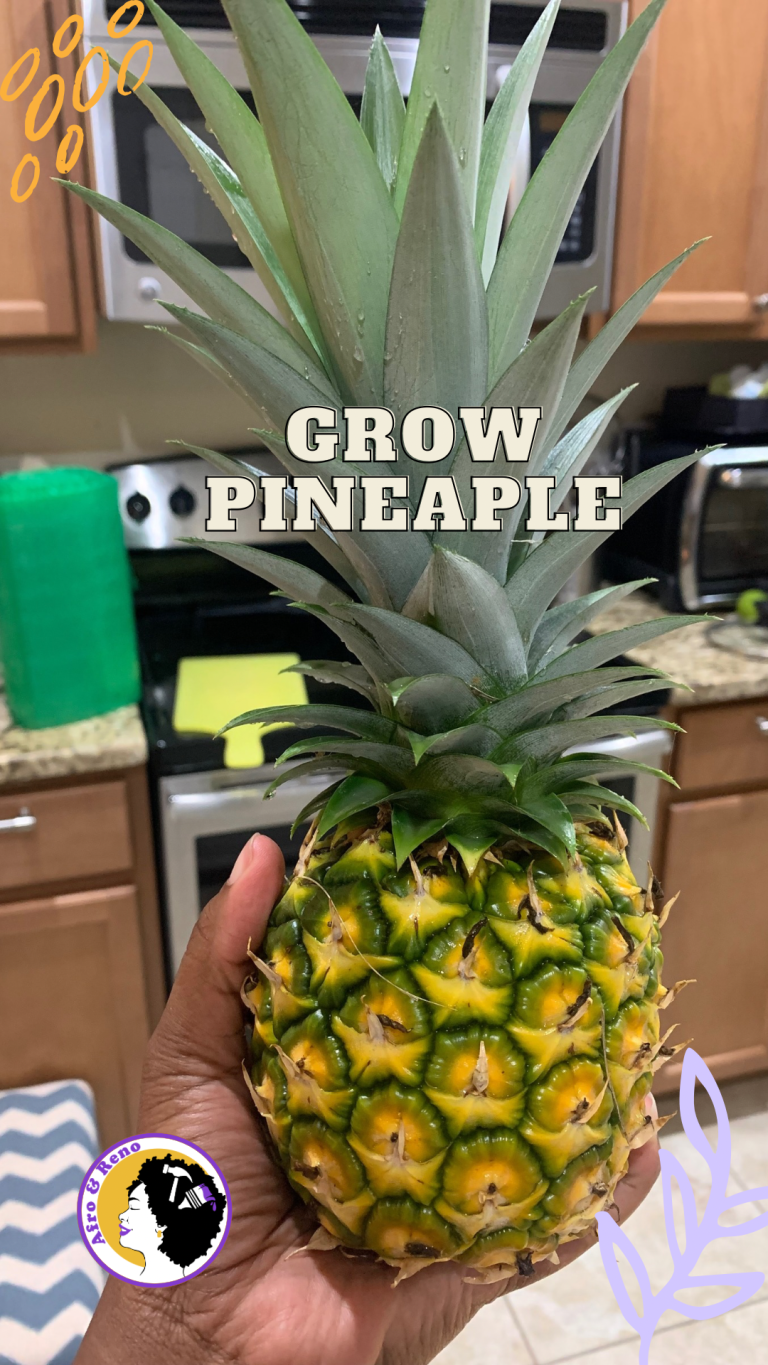
Grow pineapple the easy way
The easiest way to grow pineapples is from a pineapple top. You know, the part you take off before cutting into the delicious fruit!

Oldies but goodies On the Blog
-
Boxes are for objects, not people
I am not a stereotype and I don’t fit into the boxes people think a Black woman fits in.
-
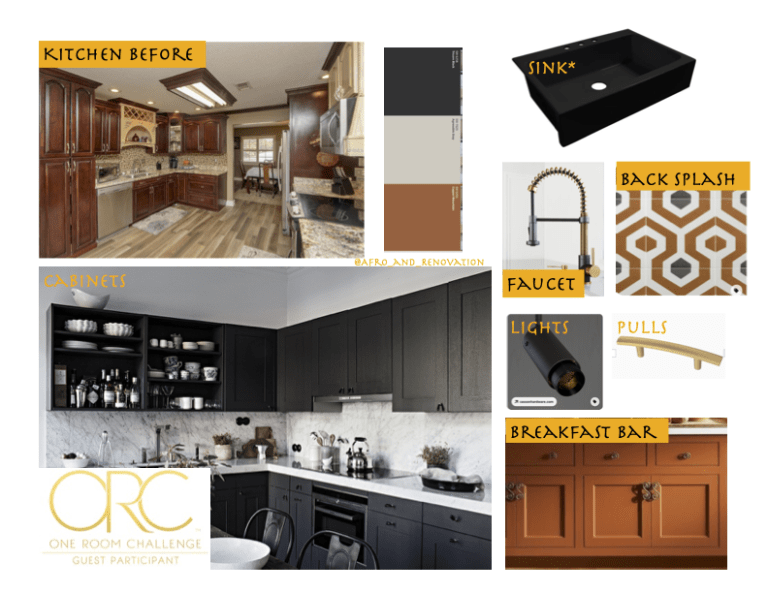
One Room Challenge (ORC): Fall edition
Customizing the kitchen one drawer and cabinet at a time as part of the ORC
It’s that time again for another One Room Challenge (ORC). I participated for the first time in the Spring starting phase one of the kitchen renovation. I will do a post later on this month how the spring challenge went. Hint: I finished it this week!
-
DIY | Home Improvement | Kitchen | ORC | Woodworking
Building a custom drawer: Recycling Bin
Customize your kitchen on a budget. This week we tackle building a custom drawer for a recycling bin. Works with a trashcan or easily modified for both!